
Quick2Cart 2.0 is an awesome new release that introduces Social Ecommerce to Joomla.
With built in multivendor & Multi Store support & tight Social Integration with JomSocial - Activity Stream, Notifications & more !
The next versions will add tighter integrations for Community Builder as well. Right now it will already work with CB, just that we don't have a Profile Plugin & Activity stream integration yet.
Note that Multi-Vendor & Multi store will only work with the Native Quick2Cart product manager right now. We will be extending this support to Zoo, K2, Flexi content & Joomla in upcoming versions. Let's get you started.
The Basic Setup
1. Enable Multivendor Support & Setup Commission Percentage
First, you need to enable Multi-Vendor in Quick2Cart options. Also, do not forget to set your commission percentage rate. This is the fee you will charge per transaction from the vendors.
Once you have done this,your users will be able to create their own stores on the frontend.
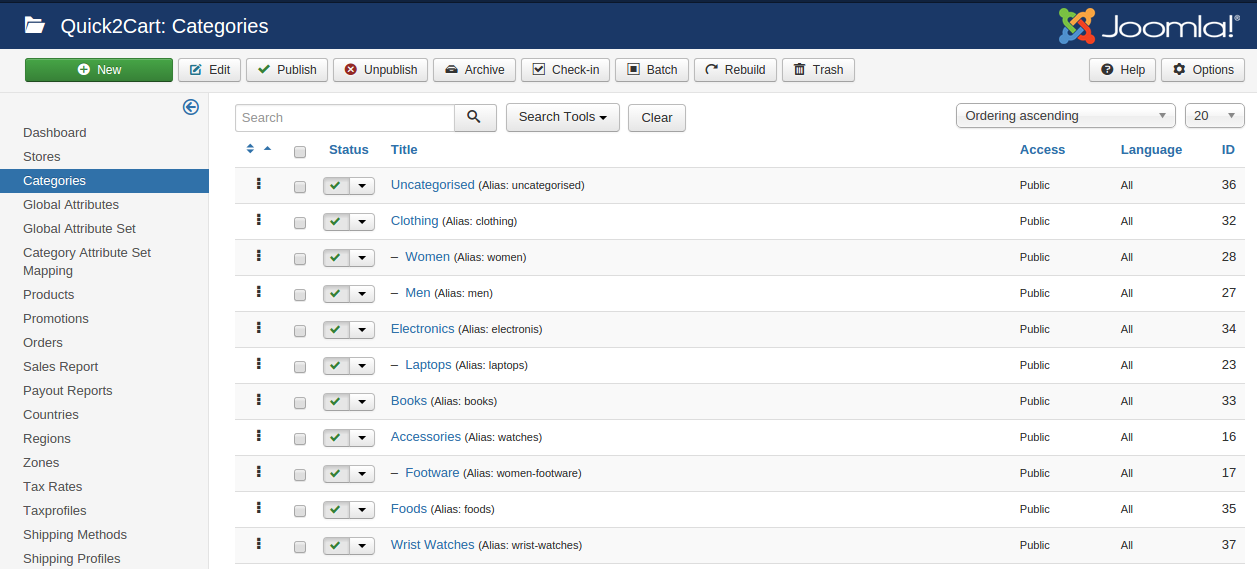
2. Setup Global Store categories
Note that in the current version, Store owners can't control their own categories. The Admin has to setup global categories in the backend & these are made available to store owners to add products. So next, go to the admin & setup the categories.
3. Create the required Menu items
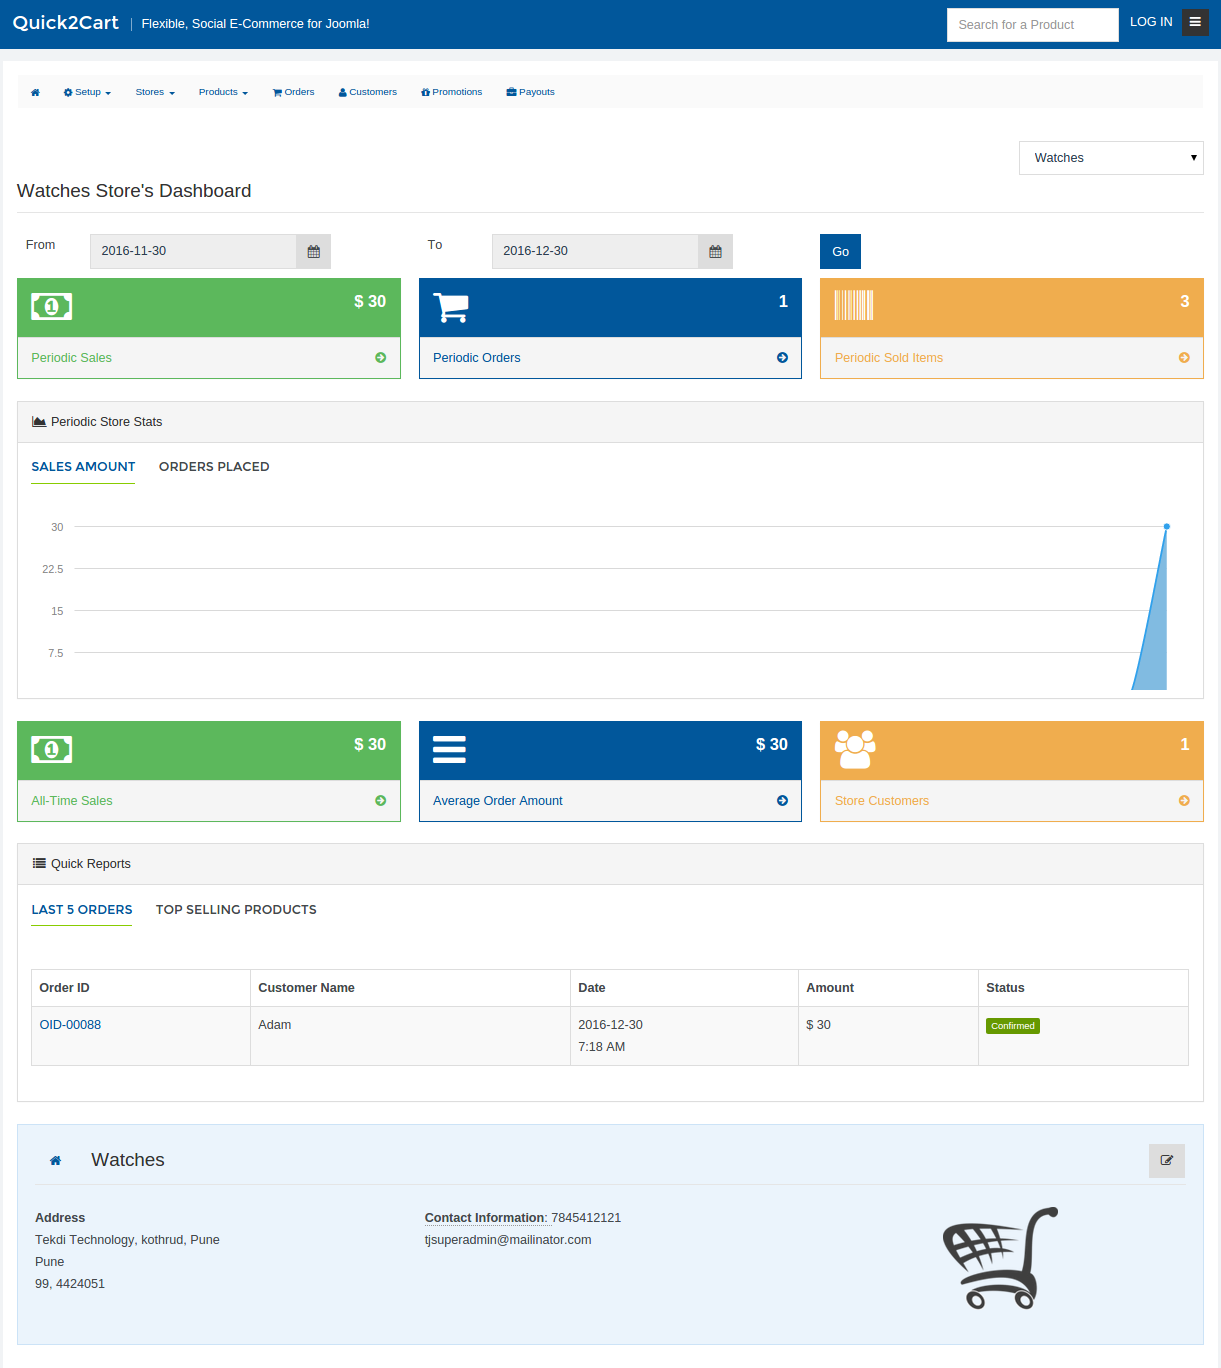
a. Quick2Cart creates the Vendor Dashboard menu by default on installation. You just need to enable it. This menu gives the user access to a full Ecommerce dashboard for his stores on the frontend. This is also needed for getting the sef urls & store vanity URL's to work correctly.
The Dashboard also gives access to an E-commerce menu to the user from which he can create new stores, manage his products, orders, customers, Coupons etc.
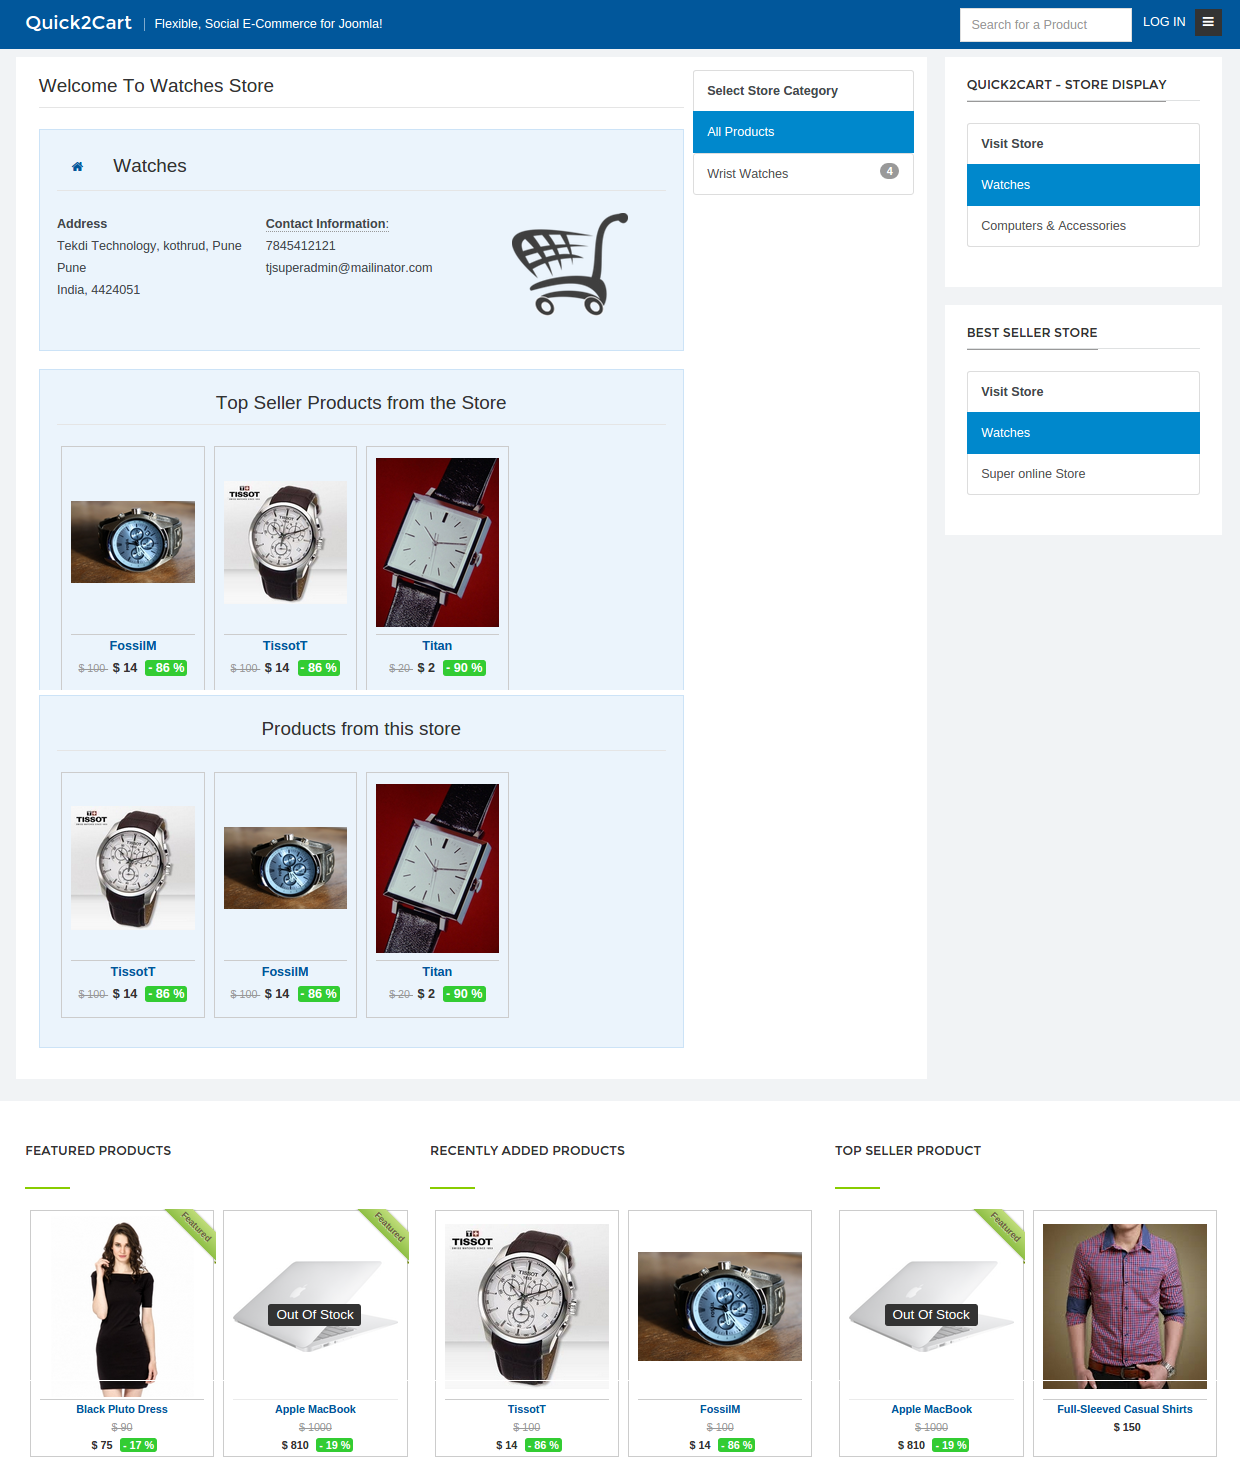
b. Create/ Publish the Quick2Cart 'All Products' Menu & Call it Store or Shop or whatever you want. This will serve as your Ecommerce Homepage
4. Setup Modules to make your E-commerce pages look nice & lively
Quick2Cart comes with several modules. We recommend you set them up as required on the respective pages.
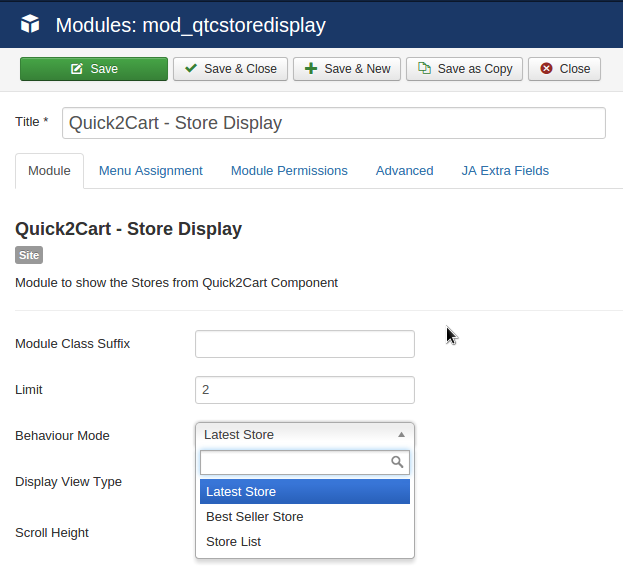
A. Stores Display Module which can be used in following modes
1. Best Seller Stores
2. Latest Stores
3. Store List Module
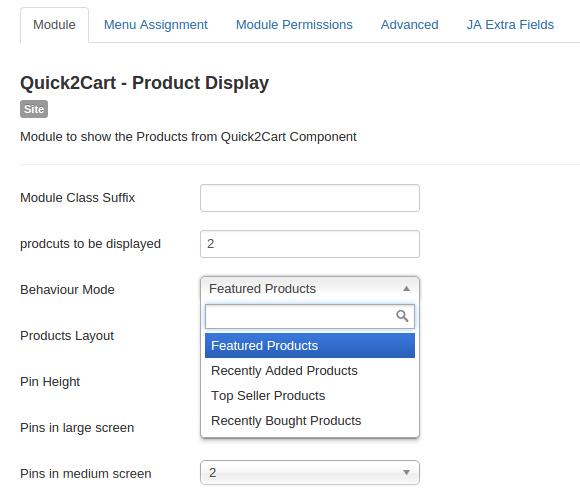
B. Product Display module which can be used in the following modes
1. Featured
2. Recently Added
3. Top Sellers
4. Recently Bought
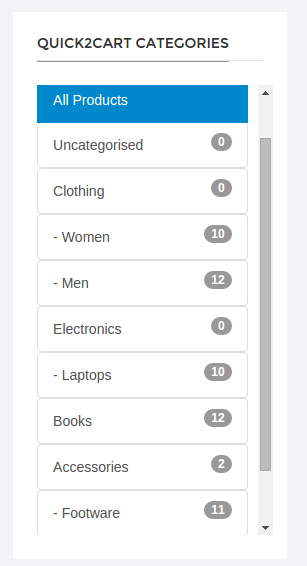
C. Category Module
Shows a list of all categories
All Setup, What Next ?
That's it. Now you are ready to open up your doors to Users to start coming in, creating stores & setting up their products. We'd suggest inviting your vendors first, get their stores filled up before throwing it open to the end users.
Post Go Live Maintenance
Once you go live & transactions start happening on your site, you need to know that you will be handling all the Payments through the Payment gateway that you set up. So all payments are coming to your account & then you need to distribute the payments to your vendors after deducting your commission. Our Payouts manager will make this very simple to manage this. Read the documentation about the payouts manager here.
Your vendors can see what you owe them & what's been paid out on their own dashboard on the frontend.
What Else Should I know about Multi-Vendor ?
- Coupons Manager on the backend & any coupons you have in there will not work in Multivendor mode. See our FAQs on why this is done like that.Coupon control is transferred to the Vendors in Multi-Vendor mode
- Category control remains with the Admin. You can have to setup a Universal set of categories that will be used by all your vendors.
- Social Integration - Quick2Cart is tightly integrated with JomSocial Notifications & Activity Stream. Read More about the Social Integration here.