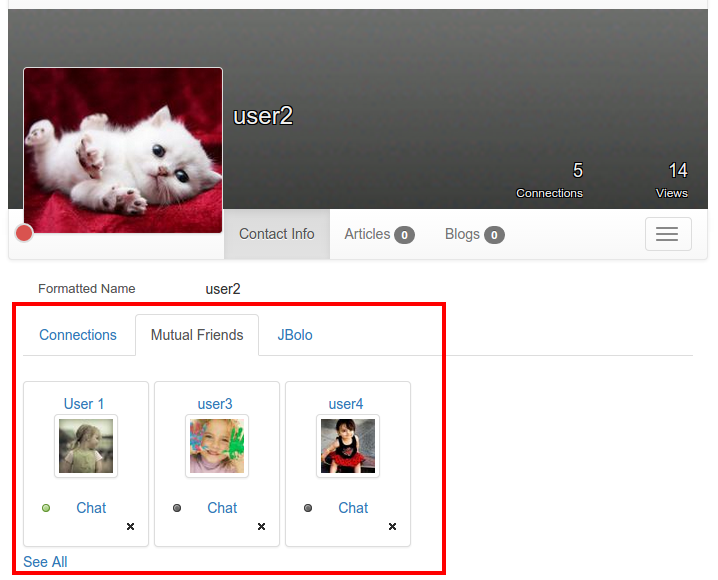
Note: New plugin (v2.1 onwards) ONLY works with CB version 2.0 onwards.
1. Installation & Upgrading Instructions
A. Fresh install
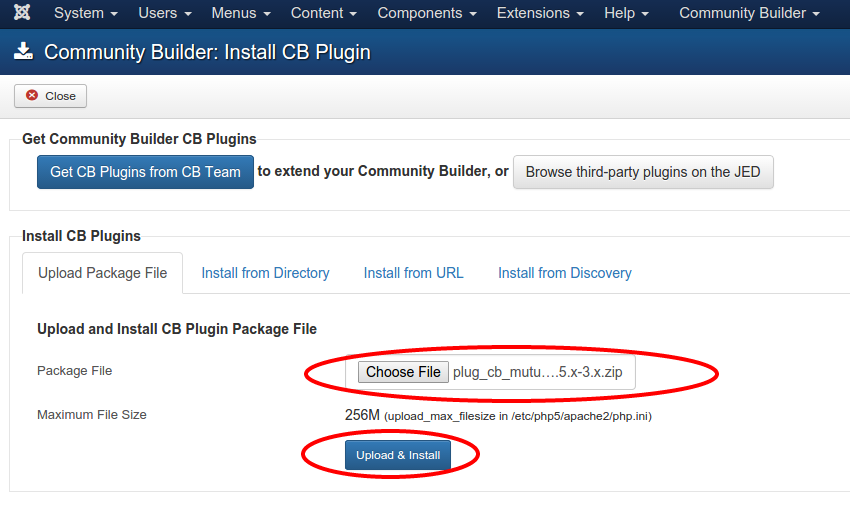
You can install the plug_cbmutualfriends.zip file using the CB Plugin installer.
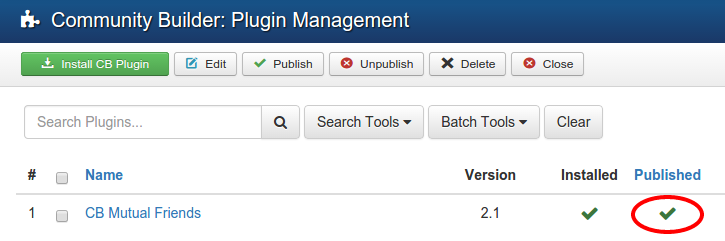
A.1 Goto Backend -> Community Builder -> Plugin Management
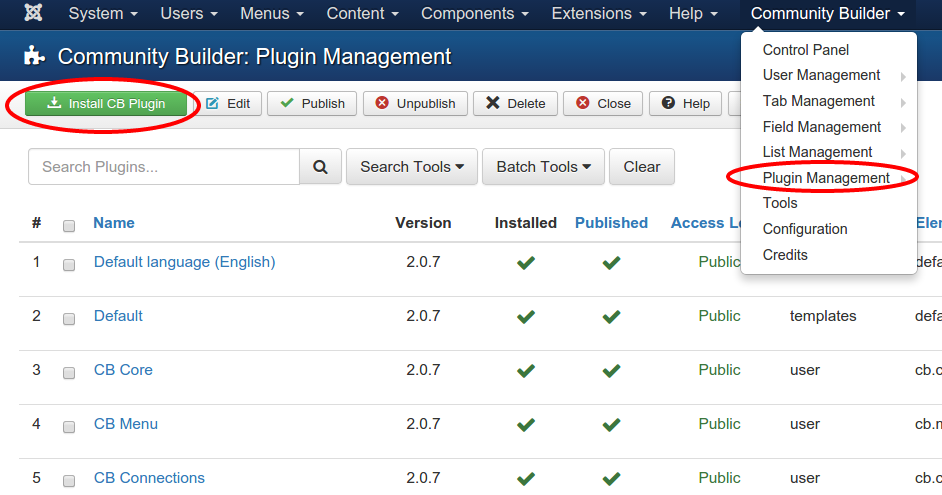
A.2 Choose plugin zip file and Click on 'Upload and Install' button
B. Upgrading from older versions to v2.1 onwards
B.1 First uninstall the existing plugin
B.2 Then follow steps A.1 & A.2
2. Configure Plugin
2.1 Goto Backend -> Community Builder -> Plugin Management
2.2 Set the Plugin to Published.
2.3 In the Parameters area, you can configure the following settings
- Number of users to show: Number of users to show in plugin output. Use a number that looks & fits best in your layout.
- Show user avatars: Show user avatars for users.
- Integrate with JBolo: Integrate with JBolo to show the chat option
- Show remove connection option: Show remove connection option. (Works if CB connections are enabled.)
- Display name to show: Select what to display as name - name or username?
3. Configure Tab
3.1 Goto Backend -> Community Builder -> Tab Management
3.2 In the config settings in the Tab, set the Position you need to display it in
3.3 Also Sset Display Type for how you need to display it.
4. Output
4.1 To view the plugin output you need to browse to other user's profile so that you can see the mutual friends between you and him/her.
Screenshot given below shows the plugin output as a horizontal CB tab.
5. Customizing Plugin Output
5.1 Customize CSS: Plugin comes with its own style.css where you can write down your own CSS.
This file is located at:
YOUR_JOOMLA_FOLDER/components/com_comprofiler/plugin/user/plug_cbmutualfriends/style.css
5.2 Customize HTML: If you want to change the HTML output, you will need to make changes in the plugin file.
It is located at:
YOUR_JOOMLA_FOLDER/components/com_comprofiler/plugin/user/plug_cbmutualfriends/mutualfriends.php
You will need to edit these functions getDisplayTab & getUsersInfoHtml