Google recently made some pricing changes to its Maps APIs. While there is still a pretty big free tier which includes unlimited map embeds, some of the APIs have a free tier limit. In JTicketing 2.5.2 we have optimized the number of API calls that need to be made so that it’s easier to stay within the free tier.
Changes we have done in 2.5.2 -
We were using javascript API to display the map on the event detail page. Java-script API is paid after some limit - Refer this link for JavaScript API pricing. - https://developers.google.com/maps/documentation/javascript/usage-and-billing
With version 2.5.2, we are using Embed API to display map and JavaScript place to autocomplete the location. Both the API’s are free.
Place autocomplete API (Used while creating an event) - https://developers.google.com/places/web-service/usage-and-billing
Embed map API (Used to display a map on event detail view) -
https://developers.google.com/maps/documentation/embed/usage-and-billing
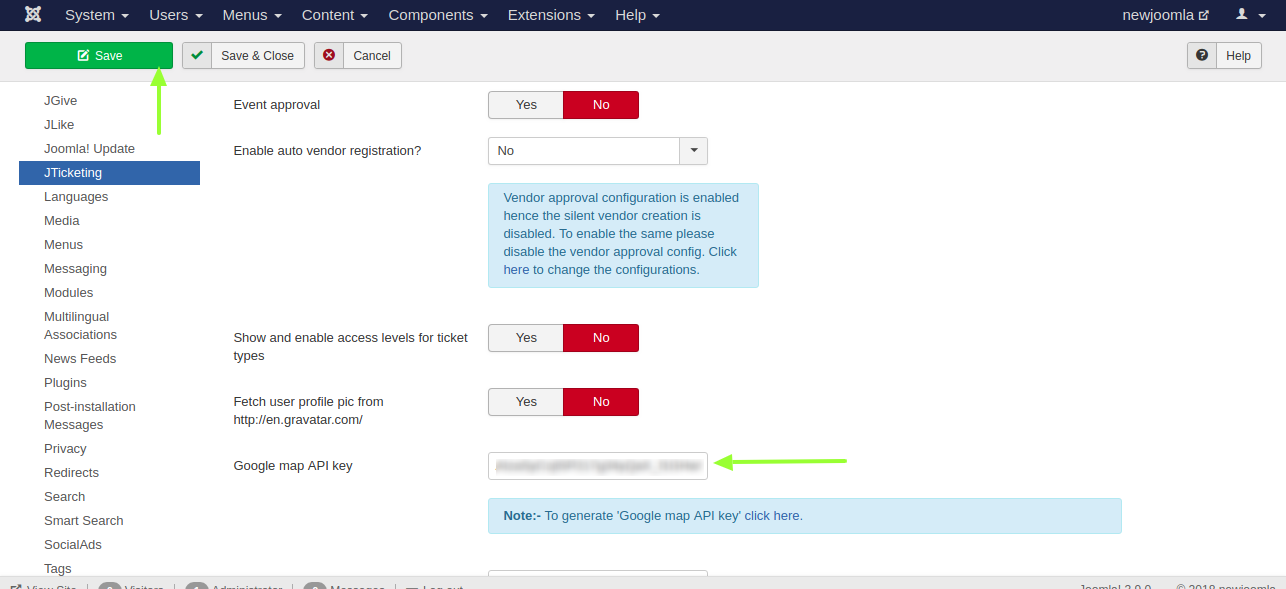
As JTicketing is using free API’s, you will not be charged from Google for displaying Google map location. Only thing you have to do is set up a Google key as follows.
If you have a free/paid subscription key for Google map. Getting an API key is not complicated and just requires a couple of minutes of your time. In the process, you will need to create a billing account or use credentials of your pre-existing account, which will be used for payment, in case you exceed your limits. So be prepared to have your billing data with you. Following 3 steps, described below, will help you get your API key.
Step 1 – Create your project
- To start, go to Google Maps Platform
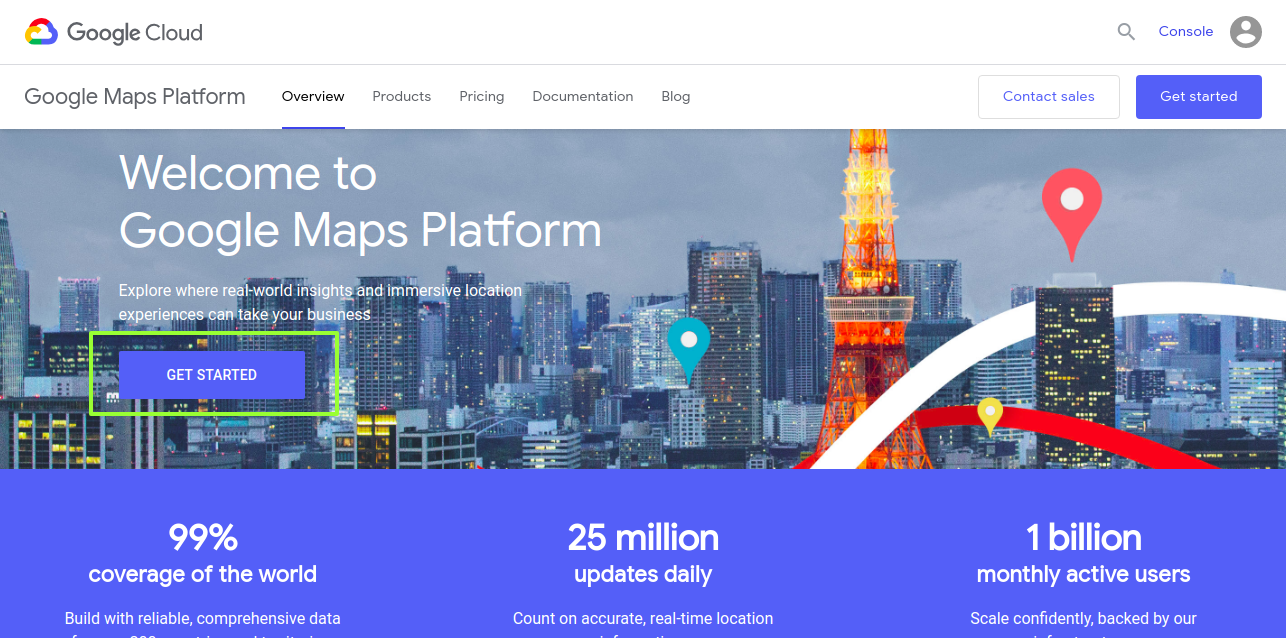
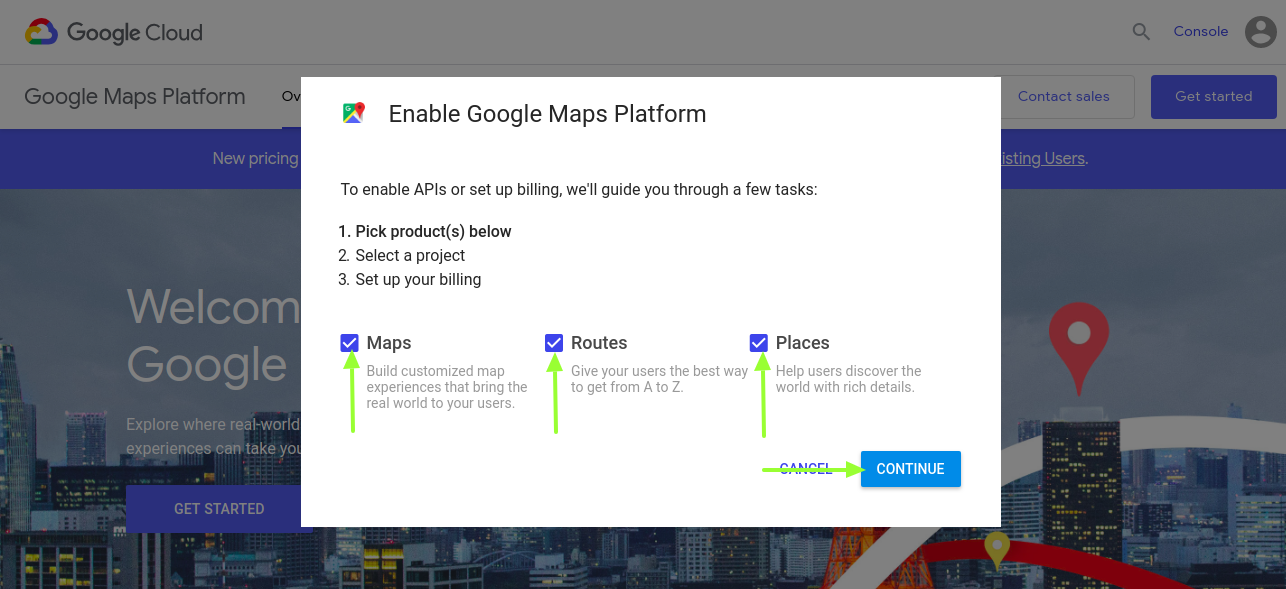
- Click on “GET STARTED” button and in the pop-up window tick on all three types of products. Then click on Continue button.
-
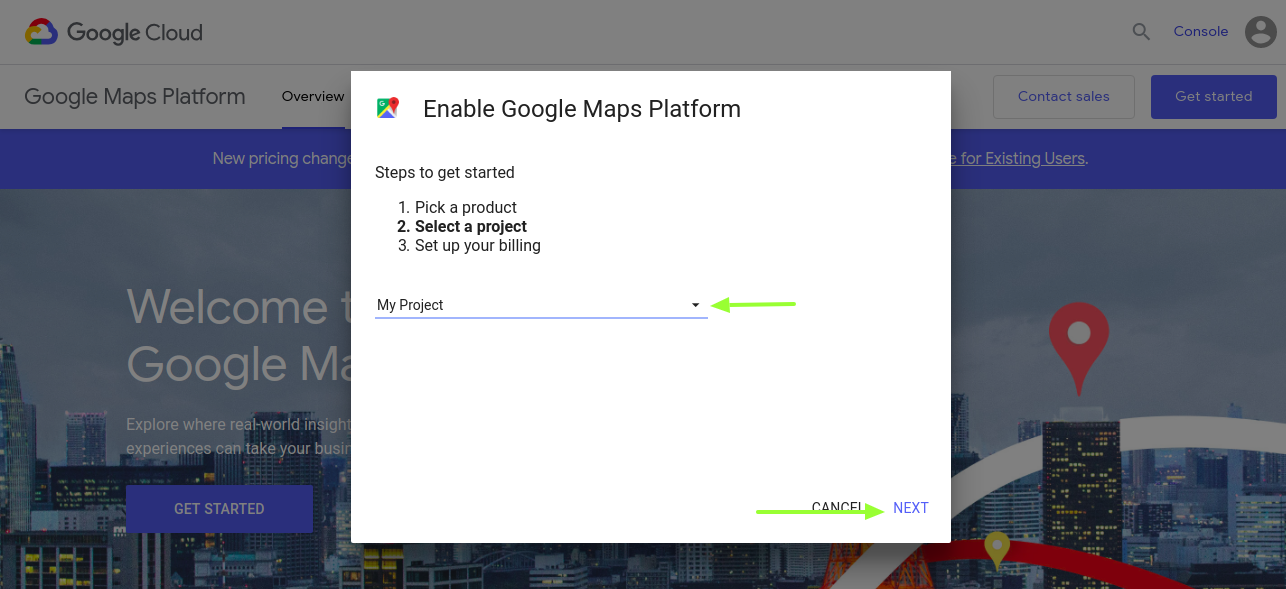
In the updated window, choose “Select a project” and enter a project name in the box below. Then click on “Next”
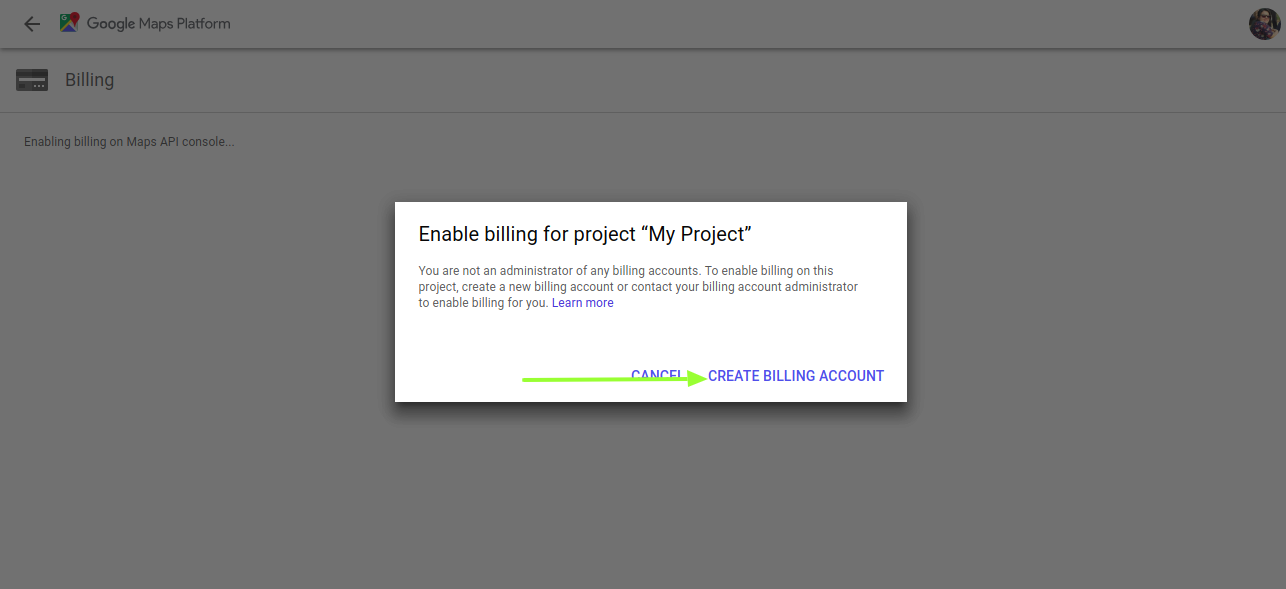
Step 2 – Create a billing account
- In the updated window, click on Create Billing Account.
- Create a name for you billing project and press Continue. Fill in the appeared form with your contact data and payment information and click Next.
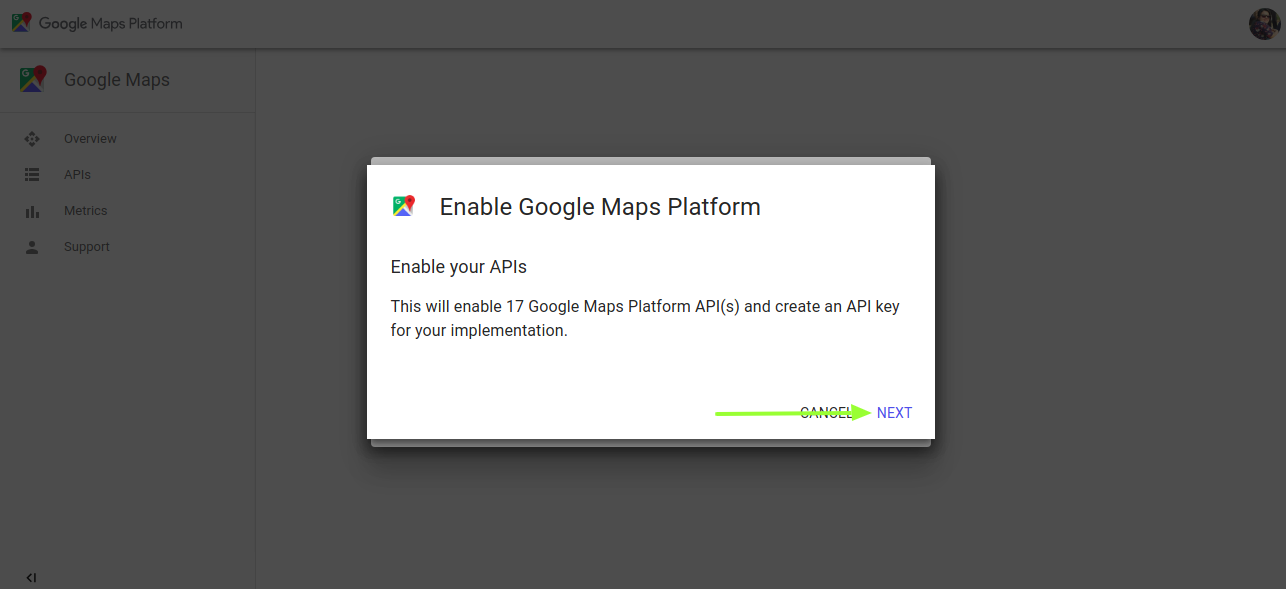
Step 3 – Get your API key
- In the pop-up window, you will be provided an option to enable your APIs. Press Next.
Almost Done. All you need to do is copy-paste the key to the JTicketing component configuration and save the configuration.