
1.Add Venue Category:-
Before creating a Venue we can add Venue Category for venue creation otherwise we can use default Venue Category as General.
Steps to add venue category:-
a.Open your site administrator.
b.Components->JTicketing
c.Select Venue Categories and click on New and create venue category.
2.Add Venue:-
Before creating an Event we can add a venue for Event Creation.
Steps to add venue:-
a.Open your site/administrator
b.Components->JTicketing
c.Select Venues and click on New and create new Venue.
We can add new venue from the frontend.
We can add the user-specific venues.
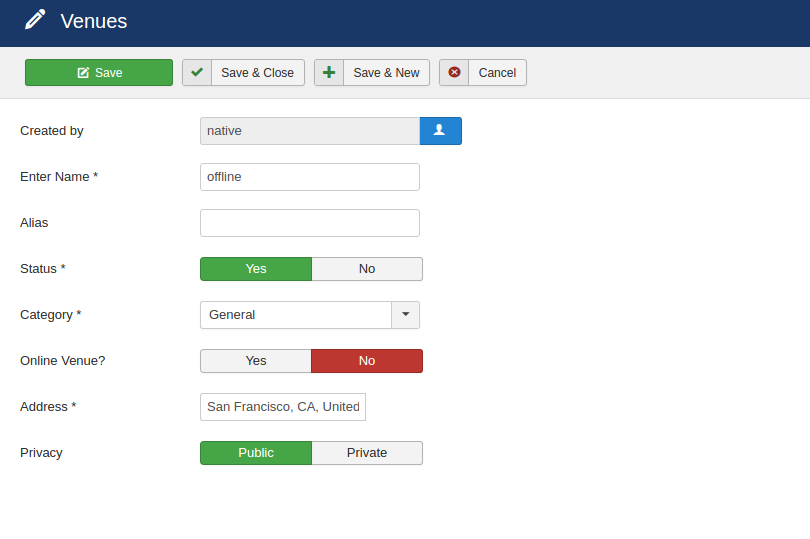
2.1 Add Offline Venue:-
2.2 Add Online Venue:-
1.Before creating online venue we need to on the JTicketing setting for an online event.

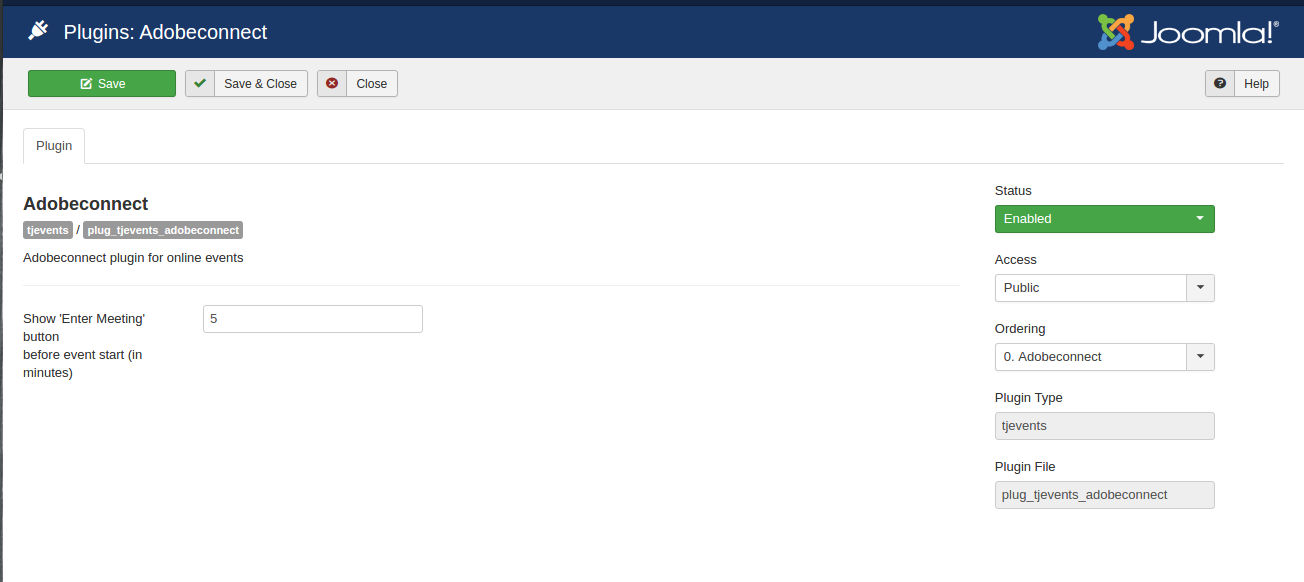
2.We use adobe connect plugin for an online event. We need to enable and integrate adobe connect plugin.
Steps to integrate Adobe Connect plugin:-
a.Open your site/administrator
b.Extension Manager->Plugins
c.Enable, Select and Configure Adobe Connect plugin.
3.Click on New button and create an online venue.
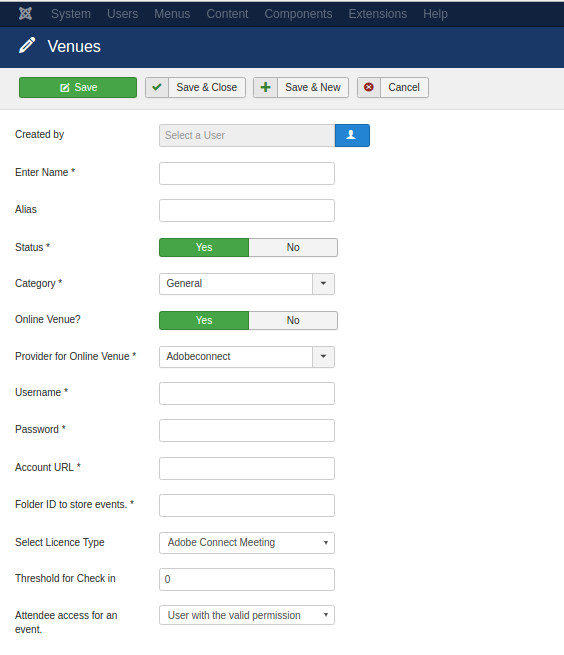
Now JTicketing is multivendor, you can create multiple online venues.
For this, we need to create multiple online venues by adding your remote server details.
If you are using a particular venue for your event that venue can't assign to another event until your event ends, considering 15 min buffer time to your event.