
How to Configure Invitex ?
In order to configure Invitex on your system go to System, then click on 'Global Configuration' and then click on Invitex. You shall need to fill out some config options as described in the screen shot below in the various tabs provided.
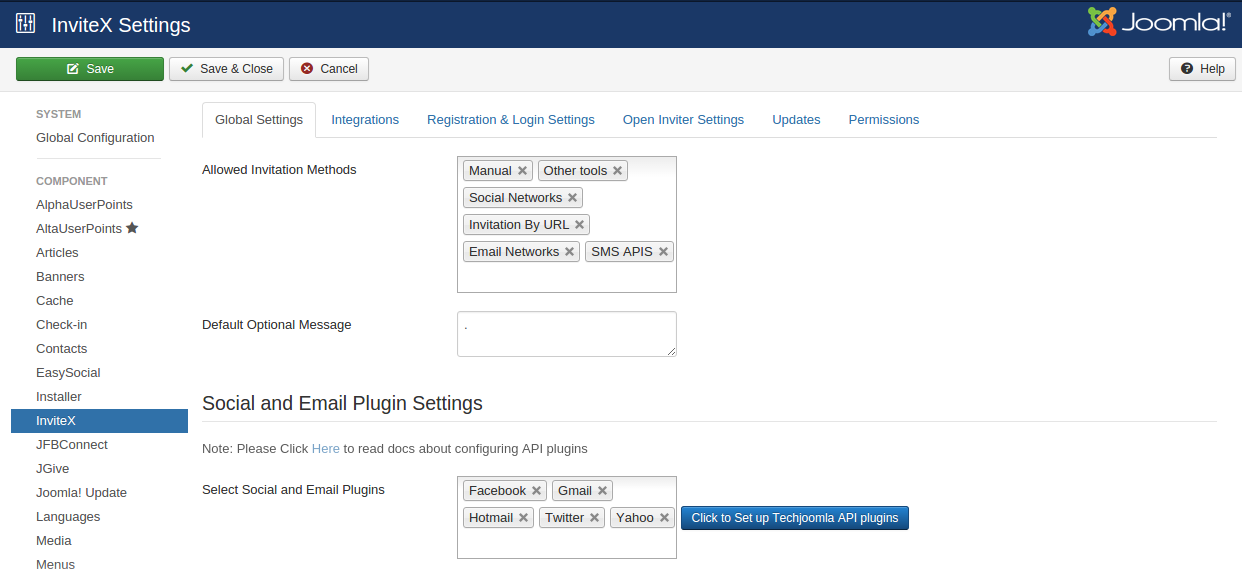
Global settings
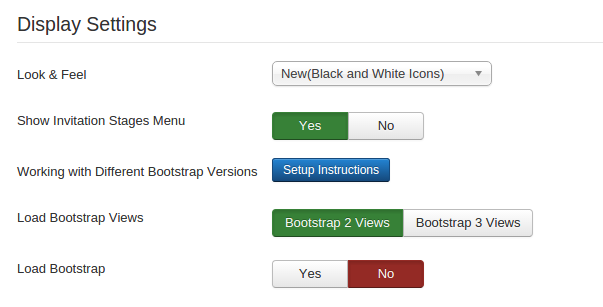
Allowed Invitation methods: Select which methods to allow for inviting users on the front-end. Only selected methods will be shown in fronend. The admin can chose from Manual, Social Networks ( Invitex API method) & CSV upload.
Default optional message: The message in this box will be used as the default message that user will write to his contacts.User can edit this in frontend.
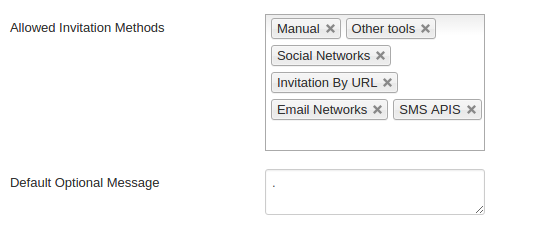
Select social and email plugins,you want to use: ALL the enabled TechjoomlaAPI plugins will be seen in this select box. Select the plugins which you need and also make sure that you have configured the plugins properly. refer the docs here for configuring the API plugins.
Show menu progress bar: If set to "Yes",following progress will be included in the Invitex view.
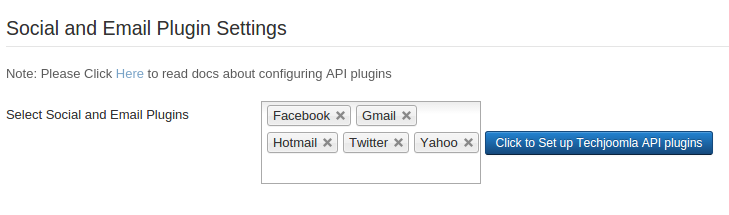
Look & Feel: Choose an invitex theme of your choice to give your website a unique layout.
Show Invitation Stages Menu: Shows the steps for invitation menu
Working with Different Bootstrap versions: Instructions on how to setup invitex depending on the Bootstrap version you are using.
Load Bootstrap: Respective bootstrap file is loaded on your site depending upon the Bootstrap version.

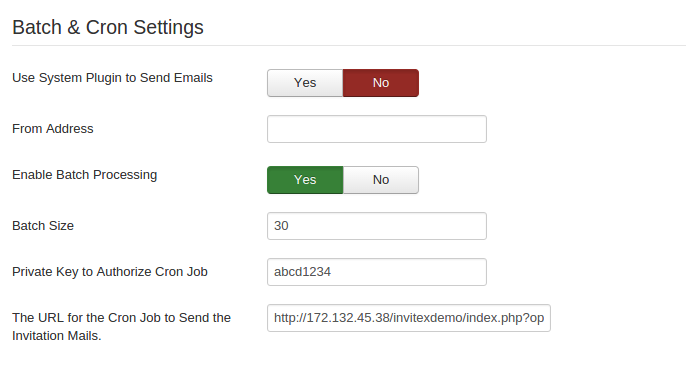
Invitation Email Settings:
Use system plugin to send emails: This will allow you to send invitations without needing to set a cron in cpanel. But the plugin will run on every page load to check if there are emails to send which can create an additional load and can make your site slow.
You should only use this if the cron option does not work for you. If you set this to "Yes" go to "Invitex-System plugin" configuration and set cron job time in minutes.
Enable Batch Processing: : We recommend keeping this on especially on Shared hosting so that invite sending is staggered in batches.
Batch Size: This controls the number of invitation emails sent in one cron run. You need to set this size depending on the number of emails allowed per hour/day on your hosting.
Private Key To Authorize Cron Job: : This Private Key is used to check if the mail cron job had been authorised by the administrator
URL to run the CRON job : Use this url when you set the cron for sending invitation emails ( if not using the plugin method). For help how to set a cron, check our documentation below or ask your hosting provider.
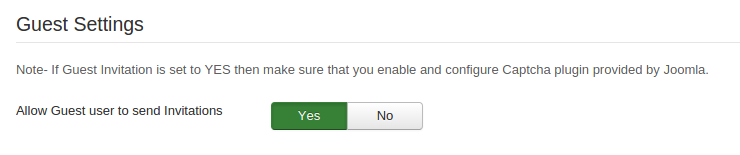
Guest user settings: Without registering, guest user is able to send invitations
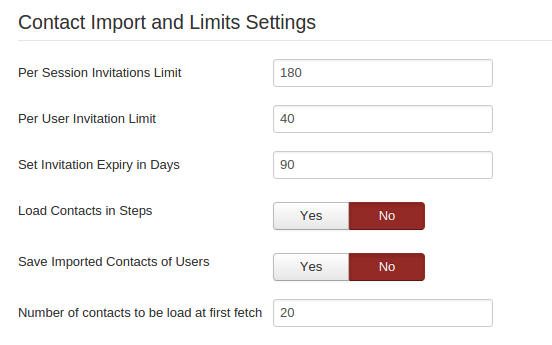
Per Session Invitations Limit: This controls Maximum number of invitations a user can send in one invitation session.
Per User Invitation Limit: This is the total number of Invites that a user can send.
Set Invitation expiry in Days: Number of days for which a Invitation should stay Active. After this period, sent invitation link will be no longer valid.
Load Contacts in Steps: When enabled, contact are loaded in steps using ajax.
Save Imported Contacts if Users: Store all emails that the user imports.
Number of contacts to be load at first fetch: If 'Load contacts in steps' is enabled, here you specify the number of contacts to be load at first instance"
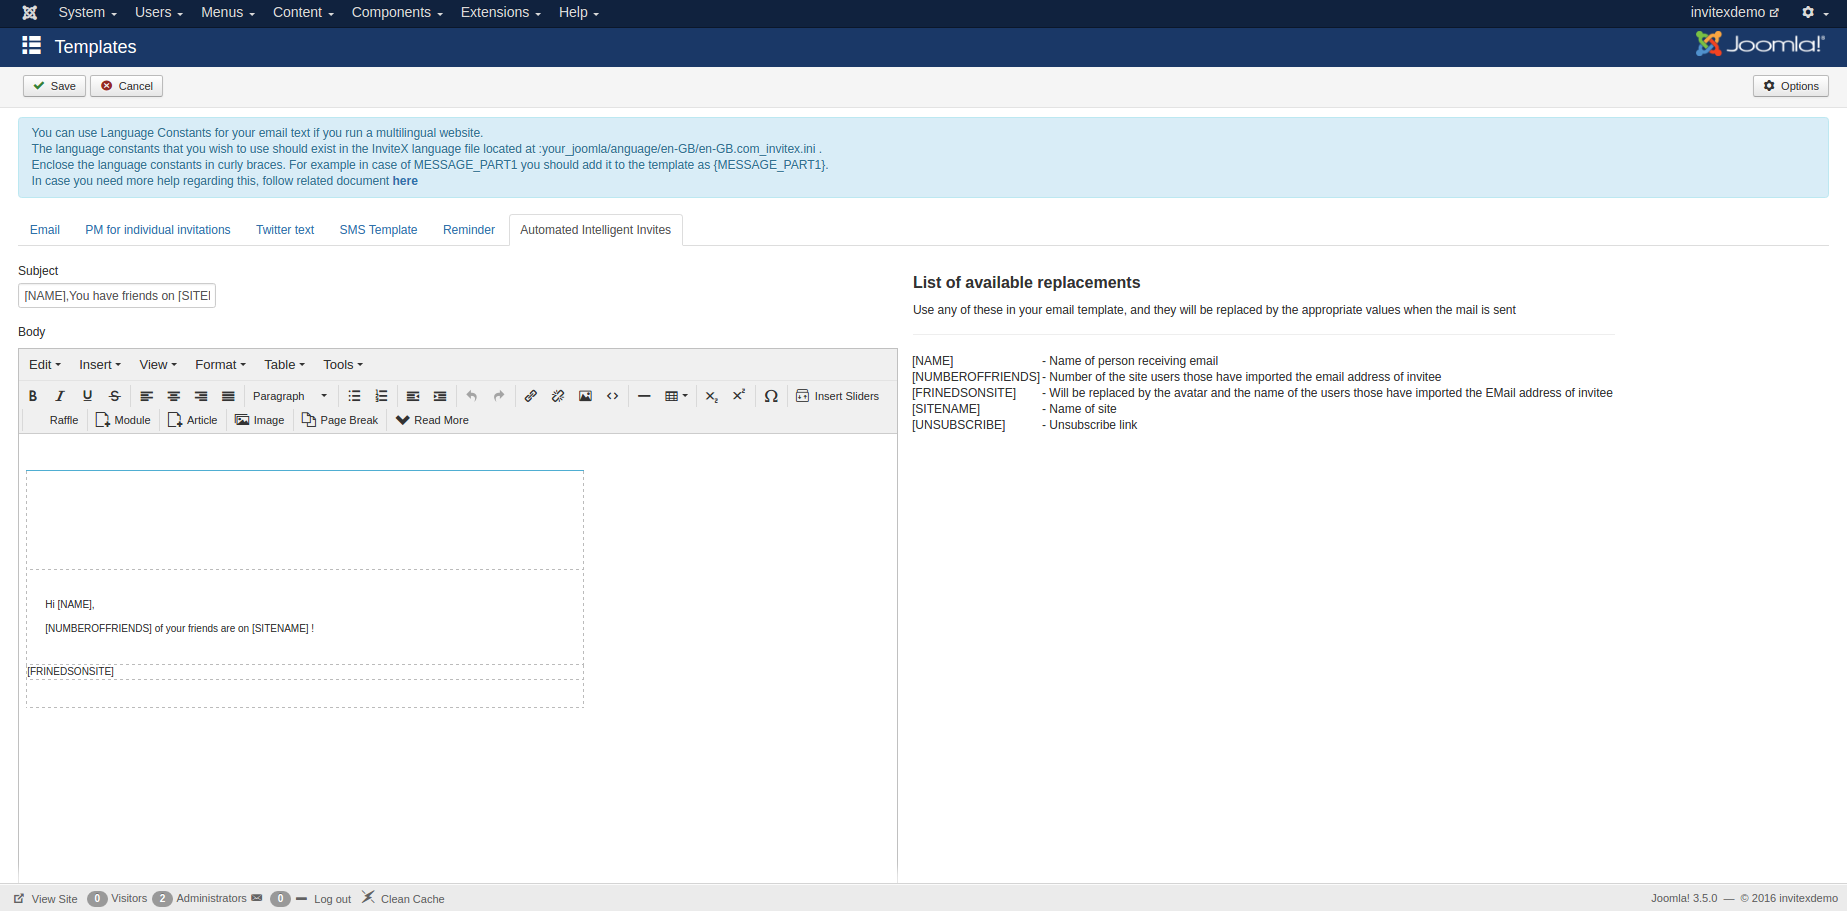
AUTOMATED REMINDER SETTINGS:
Automated Reminder: If set,the reminders will be sent to the contacts automatically according to setting for following parameters
First Reminder after(in days): This tells after how many days the first reminder will be sent to your contacts.
Number of Subsequent reminders(in days):This is the number of subsequent reminders that will be sent afer first reminder
Interval between two subsequent reminders(in days): This is the interval between two subsequent reminders.

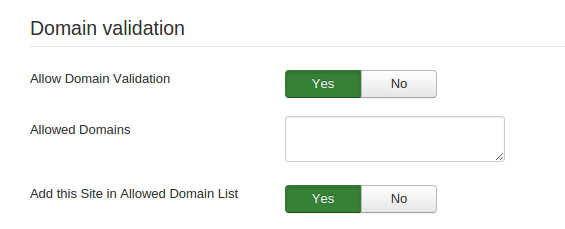
Allow domain validation: This will allow to to enable the domain validation of the Emails of the Imported contacts.
Include site domain for validation: Help you decide whether you want to include the domain of your site in the list of allowed domains
Allowed domains: If the "Allow domain validation:" is set to 'yes',the user will be allowed to send Invites to only those contacts whose Email addresses are in the list of Allowed domains.
Log settings
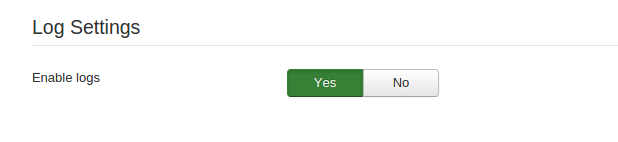
Enable Logs: Click on 'YES', if you to save the logs for invitations send.
Integrations
JomSocial Toolbar inside Invitex invites view: If JomSocial is installed at your site then you will be able to see this config option. If you set it to 'Yes' then the JomSocial toolbar will be included in the Invitex view.
*Please note that the inclusion of the toolbar is only compatible with the JomSocial versions greater than 2.4. In case you are using a lower JomSocial version, set this to 'No'.
Integration with Jomsocial Activity Stream: If JomSocial is installed at your site, and if this option is set to 'yes' then the activity of users about Inviting friends will be pushed in the Activity Stream for JomSocial. Here is something that will be shown in the Jomsocial activity stream : "Joe just Invited his friends to [Sitename] using the Invite Feature !"
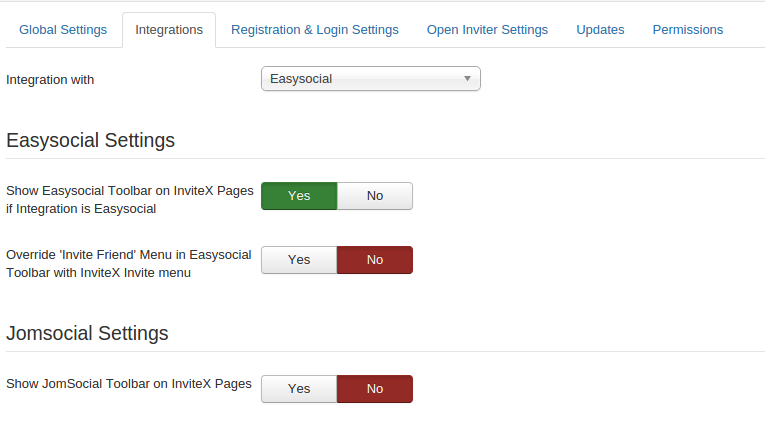
Integration With : You can optionally integrate Invitex with Joomla, JomSocial or Community Builder. This affects where the user is directed at registration & also which connection/ Friend system to use for auto connect post registration.
Show Easysocial Toolbar on InviteX Pages if Integration is Easysocial: This will show Easysocial toolbar on InviteX pages.
Override 'Invite Friend' Menu in Easysocial Toolbar with InviteX Invite menu: This will Override Invite Friend Menu in Easysocial Toolbar with InviteX Invite menu if Integration is Easysocial
Show JomSocial Toolbar on InviteX Pages; This will show Jomsocial toolbar on InviteX pages.
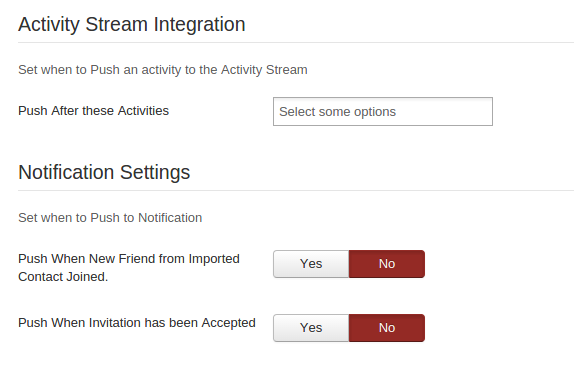
Push After these Activities: Select the activity which should be added to Jomsocial/CB/Jomwall/Easysocial activity stream.
Push When New Friend from Imported Contact Joined: This will add new notification when New Friend from Imported Contact Joins the site.
Push When Invitation has been Accepted: This will add notification when invitation has been accepted.
POINT SYSTEM SETTINGS:
Points System Integration: This will provide you option with which point system you want to integrate with.[In order to configure how many points to allocate in case you are using JomSocial, You need to configure the JomSocial rules for the same. Read the documentation here to see how.]
Points to allocate to inviter : If the "Points System Integration" is set to "Alta points",These are the points which will be given to the inviter when the invitee will accept the invitation.
Points to allocate to invitee : If the "Points System Integration" is set to "Alta points",These points will be given to invitee when he will accept invitation.

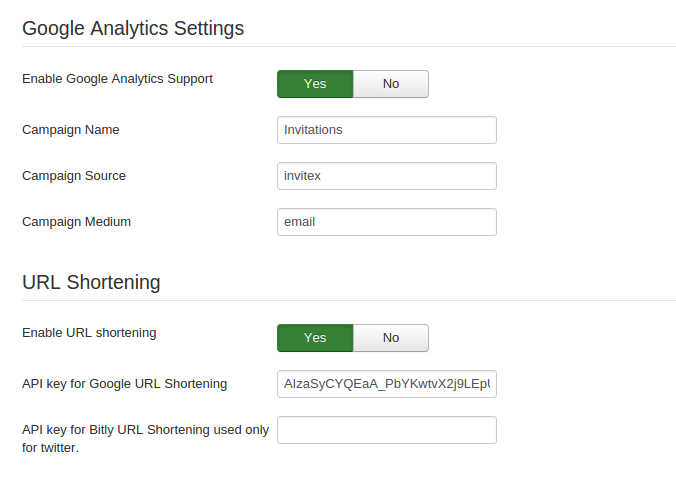
Enable Google Analytics Support: Set YES to enable Google Analytics Support.
Campaign Name: Enter name of your campaign.
Campaign Source: Enter source of your campaign.
Campaign Medium: Enter medium of your campaign.
Enable URL Shortening: If you set this option to yes then all the urls in your message which are sent via Invitex will be shortened.
API key for Google URL Shortening: If you have the API key for the Google's URL shortening then put it in this field. If you do not have it, then please leave it blank.
API key for Bitly URL Shortening used only for twitter: API key for the Bitly URL shortening used in twitter.
Broadcast integration
Integration with Broadcast: It allows you to add activities to Broadcast component queue which will push to Facebook, Linkedin, Twitter 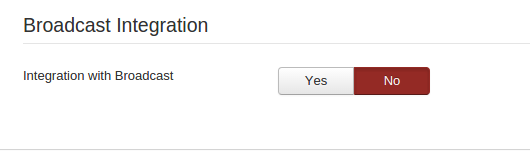
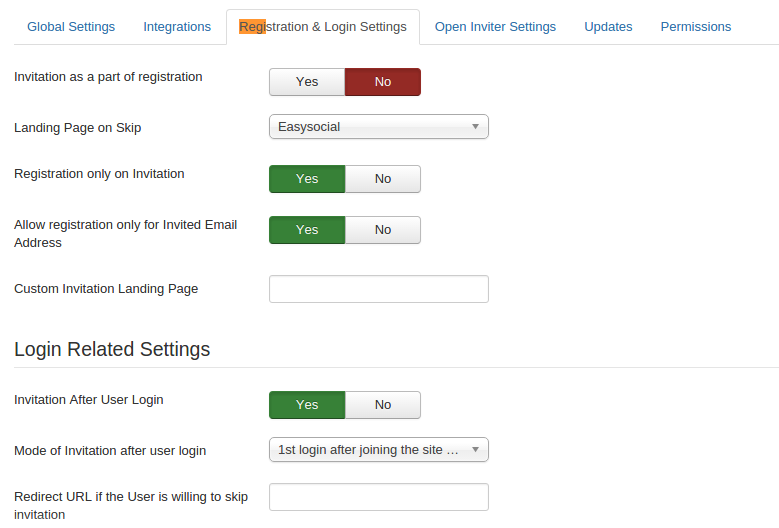
Registration and Login settings
Invitation As a part of Registration: If this is enabled,you can allow your users to Invite their friends during Registration.
Landing Page on Skip: Select URL to redirect if user skips invitation during registration.
Registration only on Invitation: By default this is set to 'No'. Setting this to "Yes' will make registration process invitation only. That is, users will not be able to sign up/register directly without an invitation link.
Allow registration only for Invited Email Address: If you enable this then the invitee will only be able to register using Email id to which invitation was sent.
Custom Invitation Landing Page: If set to some URL, the Invitee will be redirected to this link, when he cliks on the 'Sign up' link in the mail."
Invitation After User Login : Once user logs in he will be redirected to invitation page.
Mode of invitation After User Login: Select mode of invitation after user login.
Redirect URL if the User is willing to skip invitation: Set redirect URL if the user is willing to skip invitation.

Design HTML template
We offer a WYSIWYG Editor ( Uses the editor as per global config setting in Joomla) to help you customise your email template. Common Customisations are adding your site colours & logo. Make sure you use inline CSS in styling this as Emails will not support external stylesheets. From version 2.0 onwards, we provide integration with "Emogrifier" to make the email more compatible with email providers by converting all CSS to inline in case it is not.
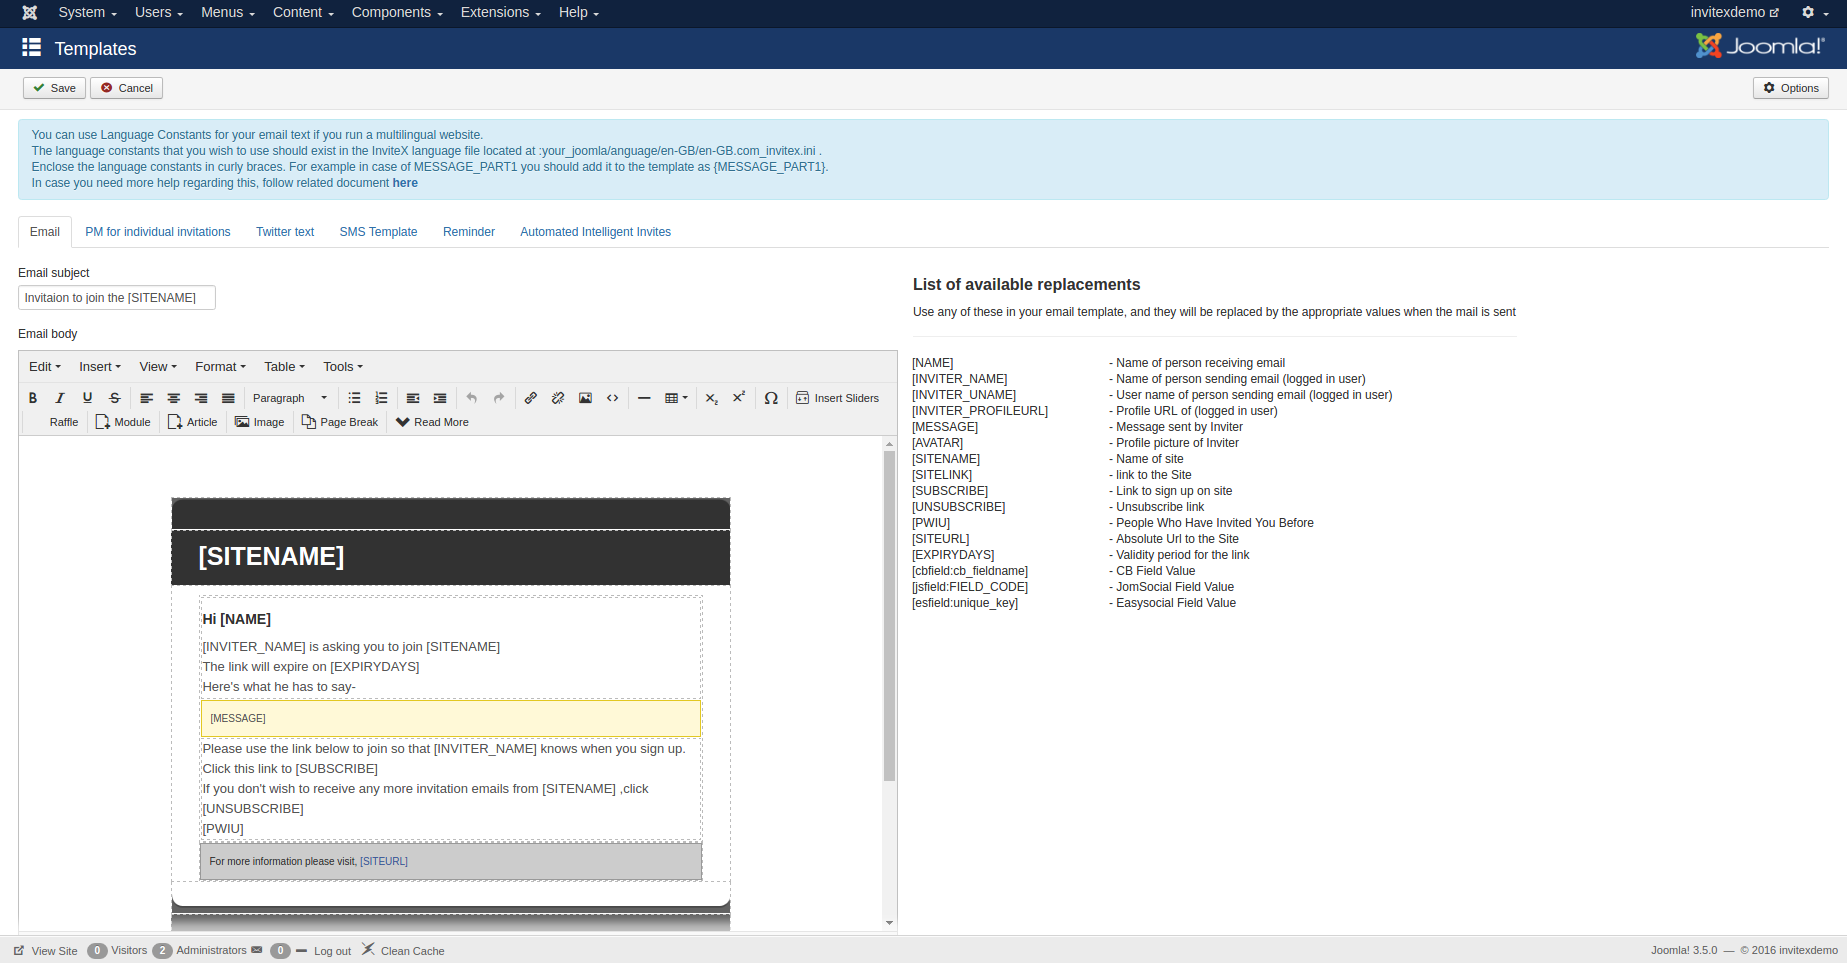
Using Replacement Tags to Personalise your email
You can use replacement tags shown below in the screenshot to personalise your mail to add the Inviter's Name, Avatar etc. In the future many more tags shall also be supported.
The PWIU Tag.
This allows you to show "People Who have Invited you earlier " in the invitations email sent. In case the user hasn't accepted, he can see which all users have invited him to date. Facebook & Orkut have a similar feature. This is sure to increase invite acceptances.

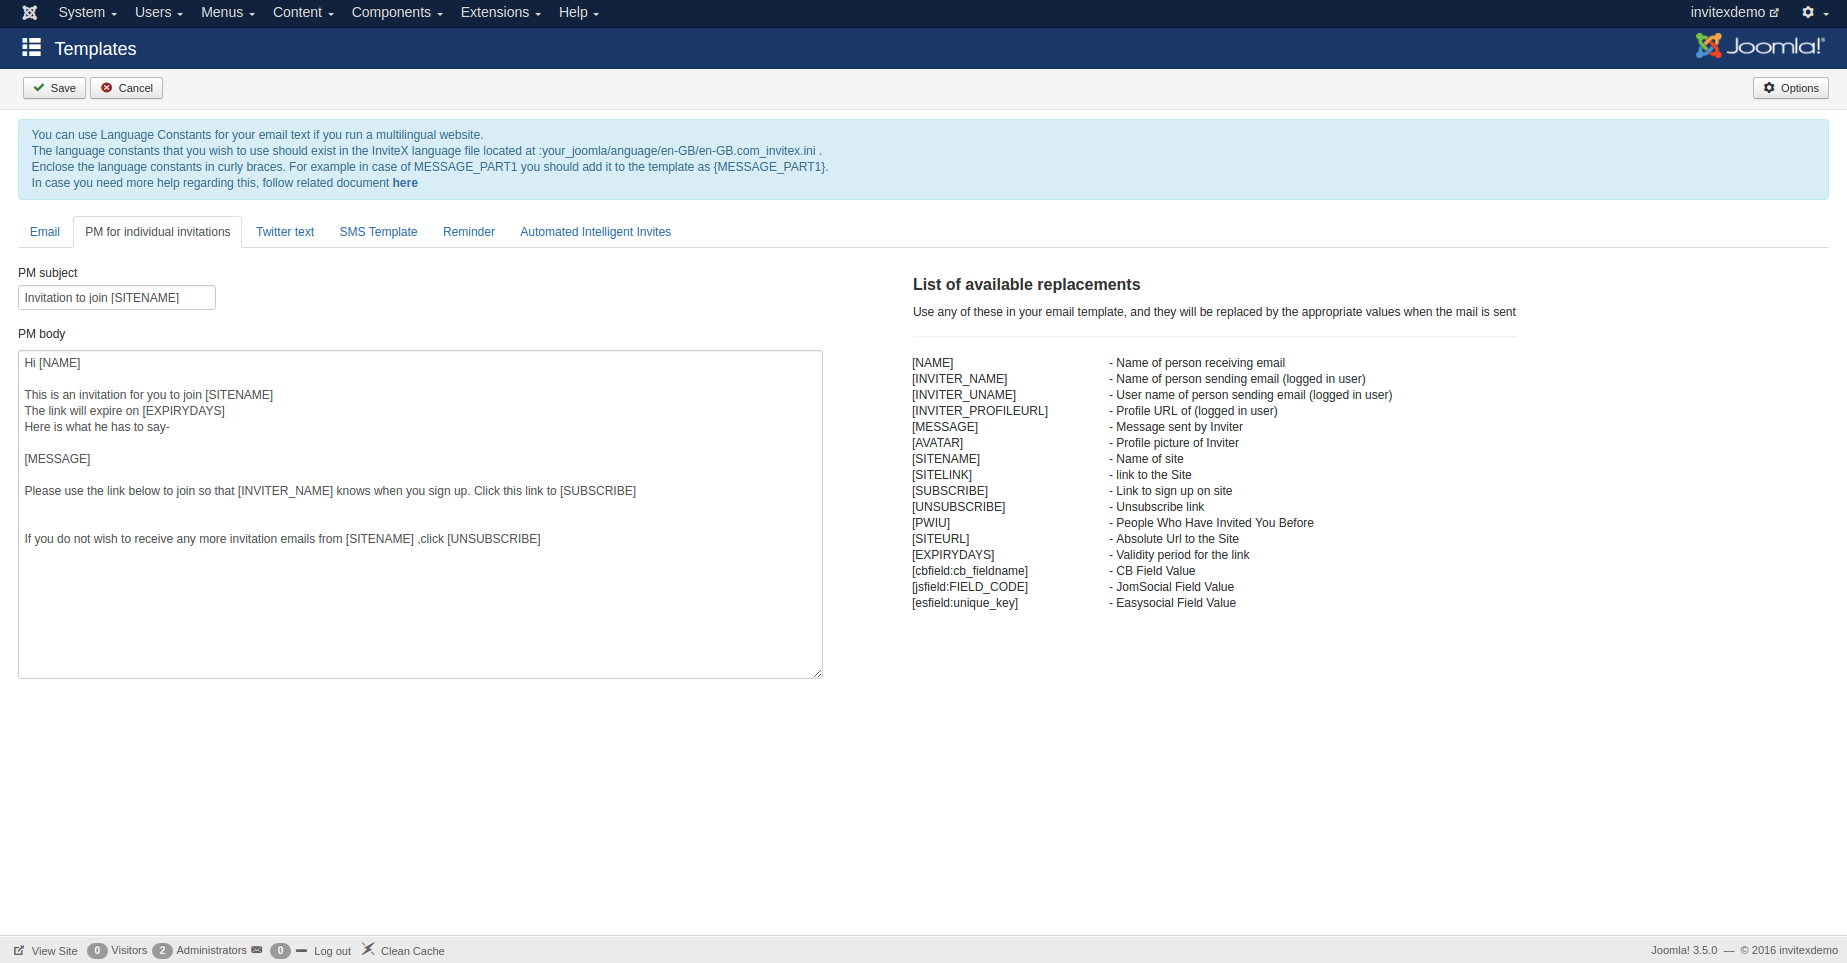
PM for individual invitations
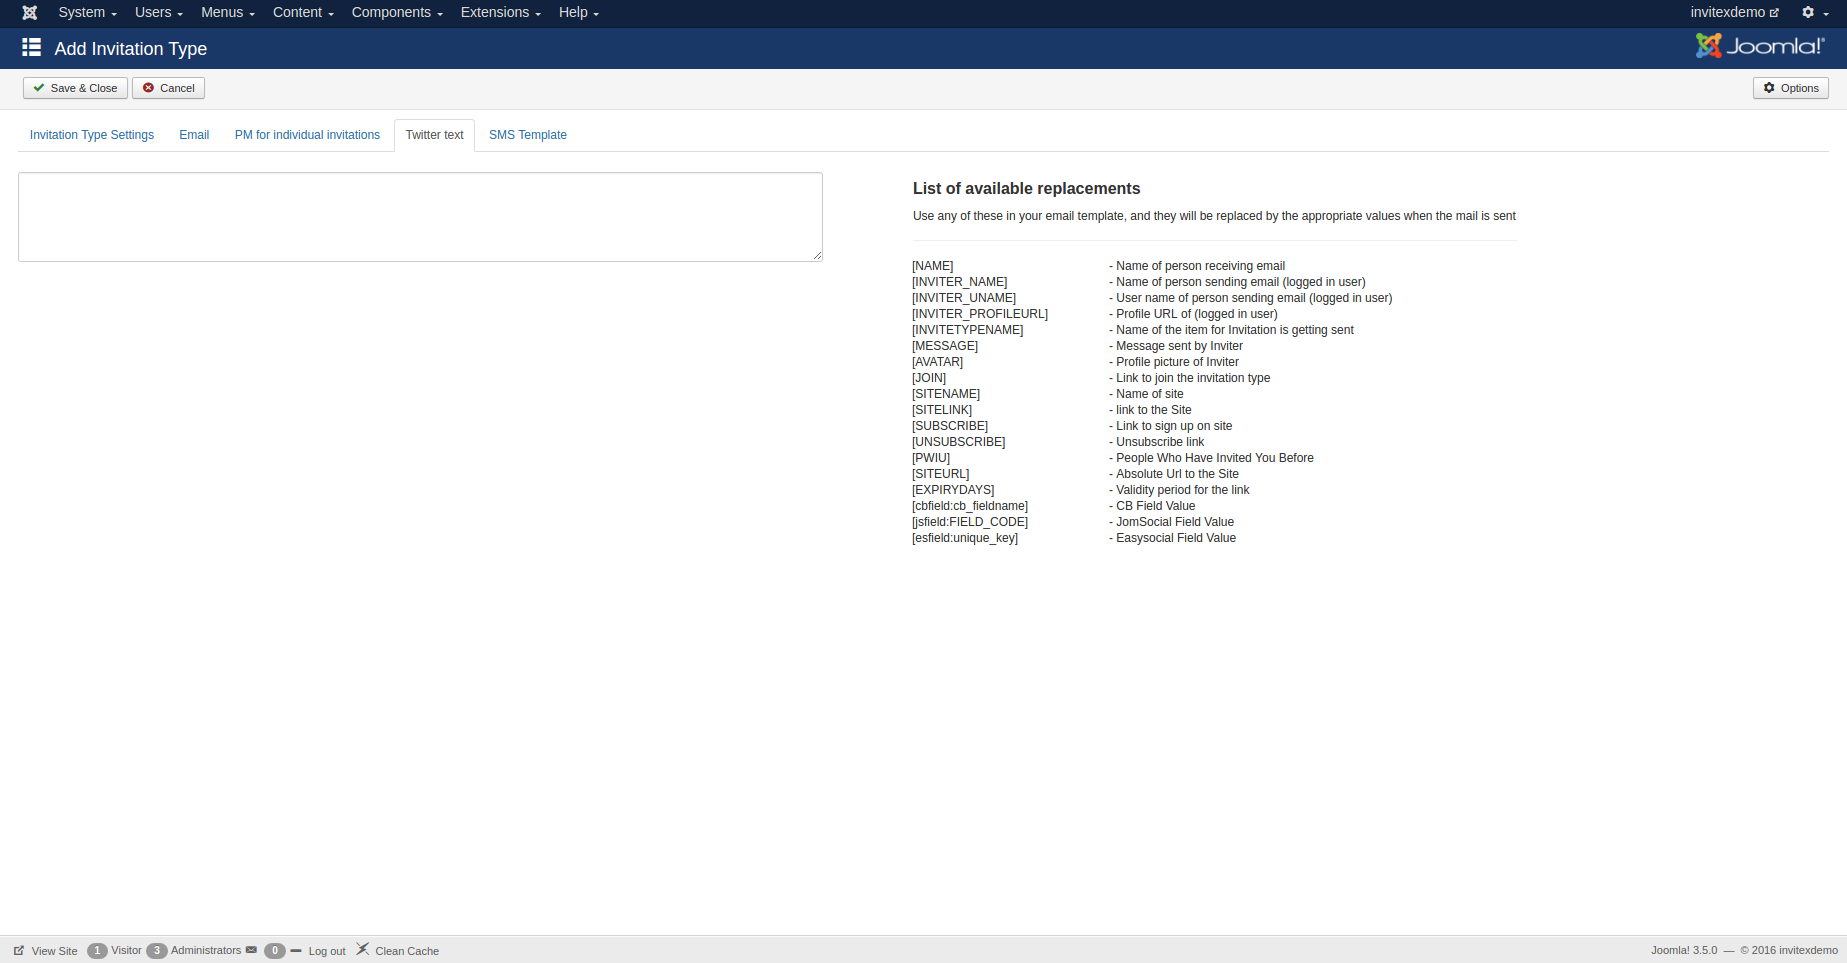
Twitter text
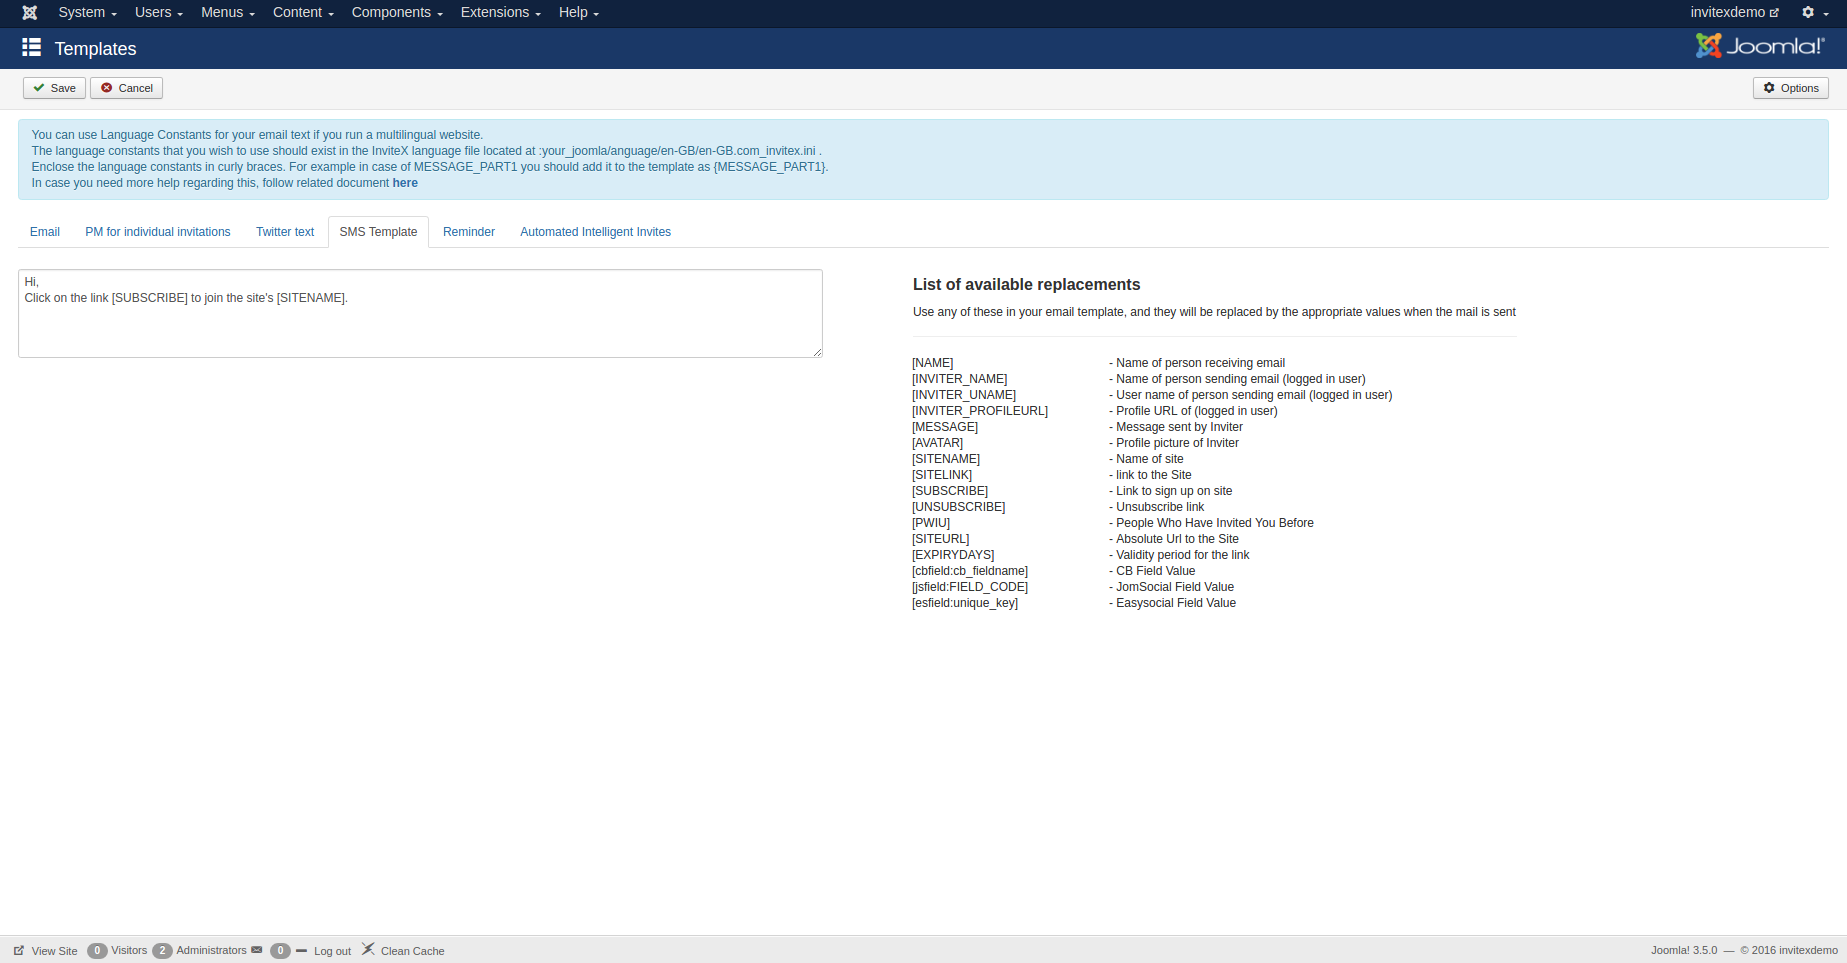
SMS Template
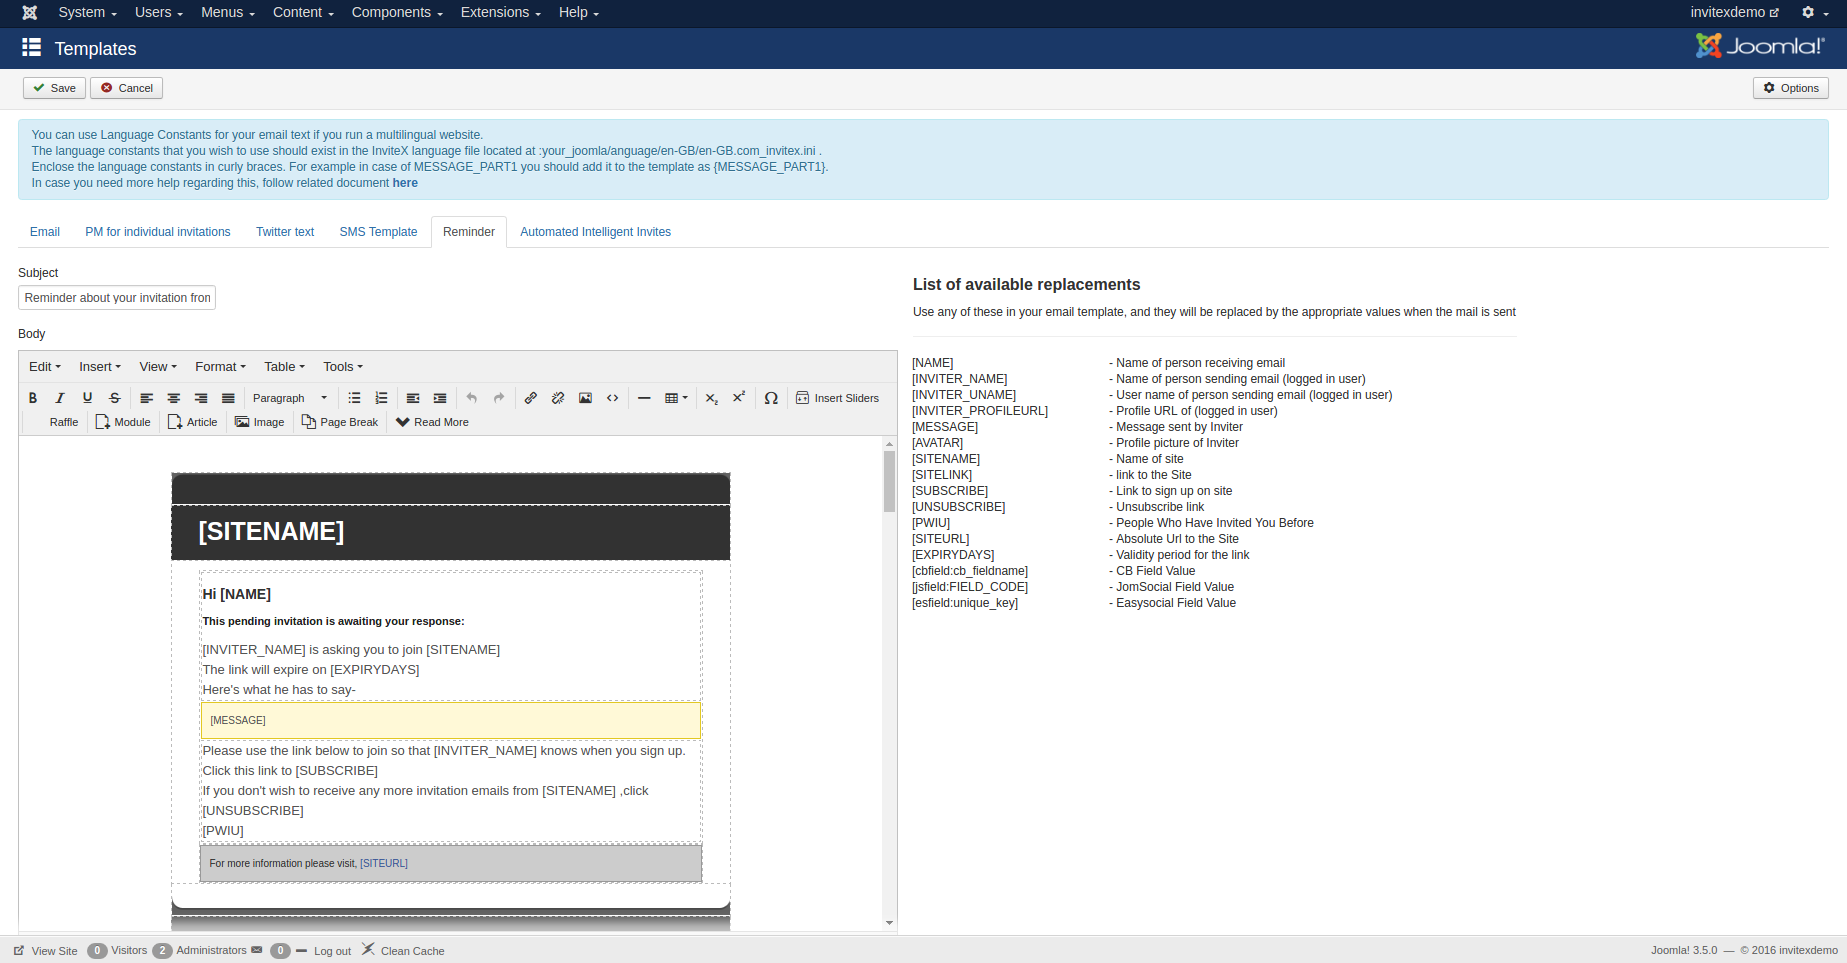
Design REMINDER Template:
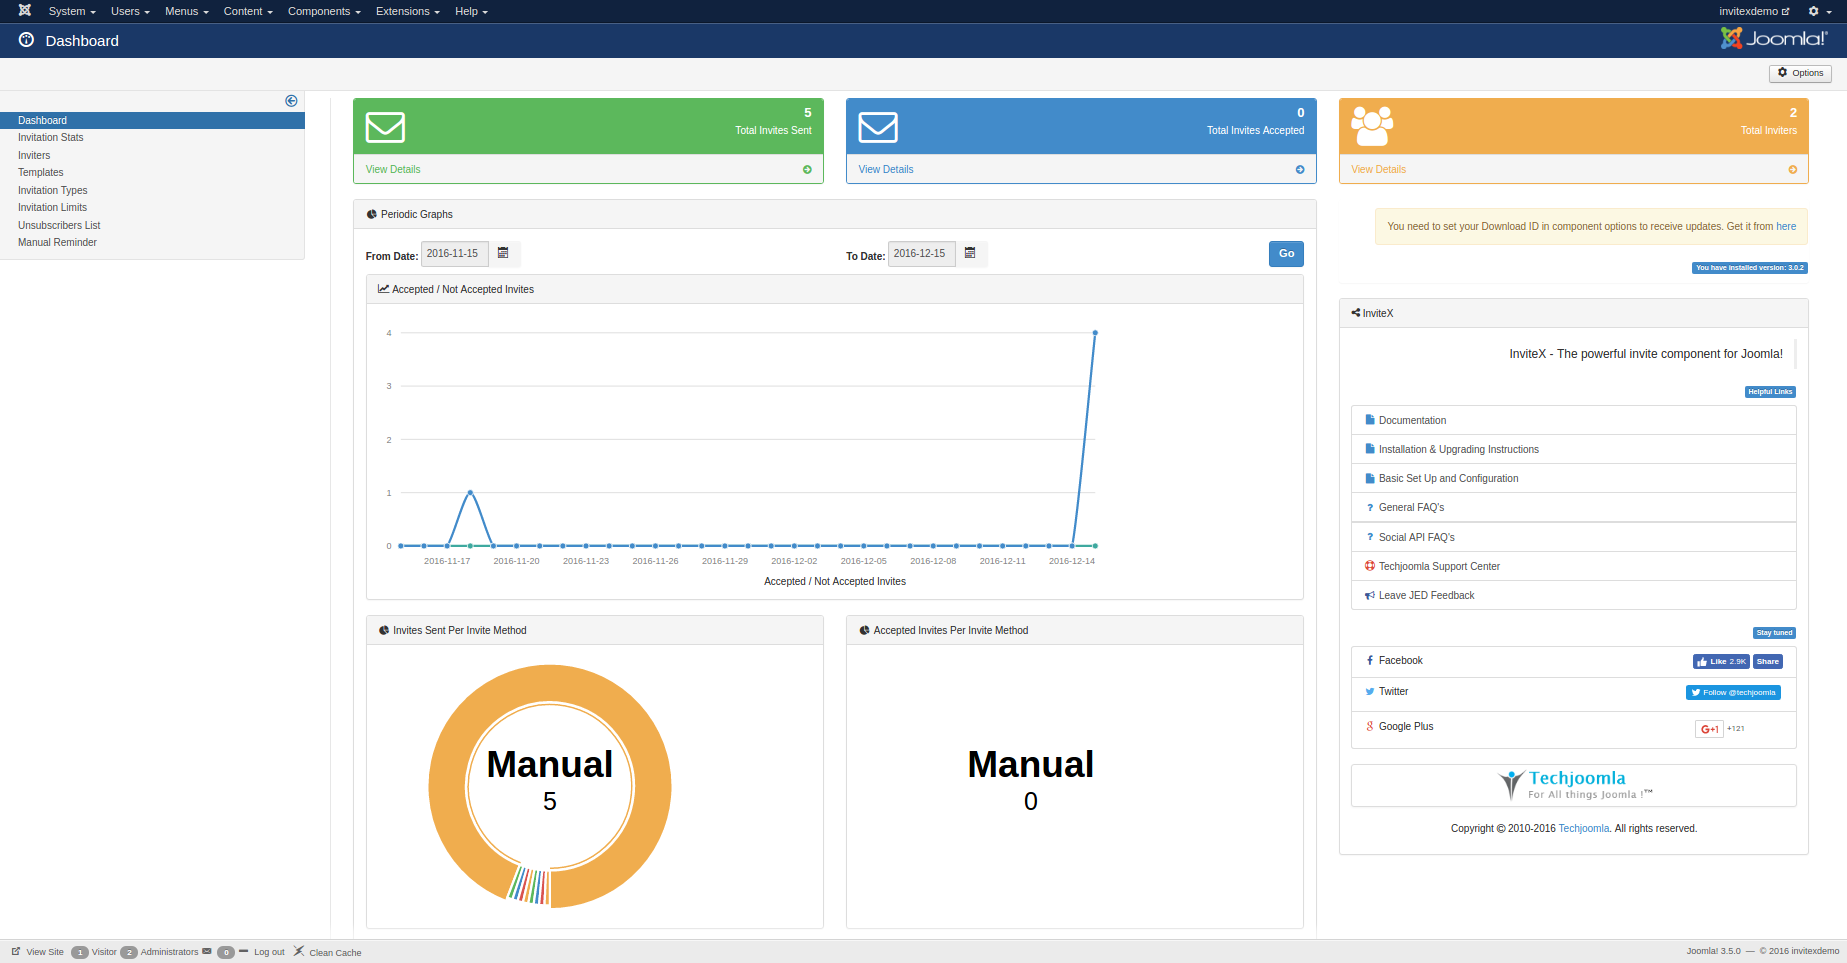
Statistics & the Dashboard
- This will show you the users who have sent out invitations depending on date and the session.
It will also show if the invitation sent out during that session was accepted or not.
The Dashboard view gives you a quick look at how invitations are performing on your site. - You can filter the invitations sent by User & by Provider.
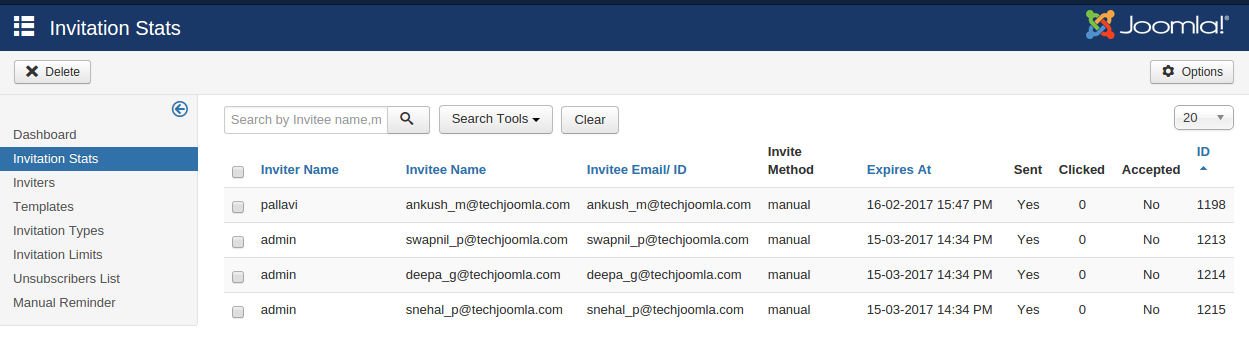
Invitations Sent
This data will show the people the e-mail ids to whom invitations were sent out and if they were accepted or not. You can filter the invitations sent by User & by Provider.
Configuring the Plugins
Invitex System Plugin
This plugin should be enabled. Optionally you can also use it as an alternative to cron if you enable that setting in the Invitex configuration. The settings available here are as below :
: Set after how many minutes send email function should run. Time will be in minutes. Default is 60.