In the process of making Shika's user dashboard more user friendly we have made some major changes by adding new widgets to the dashboard. With this you can now build your own widgets and give your users the freedom to choose which widgets he/ she wants to be shown on the dashboard.
We have created a new table #__tjlms_dashboard which contains all the widgets per users. If the users has not set any widgets to be shown or is using the default dashboard, basic dashboard plugins will be shown.
For Shika 1.0, user will not be able to select the widget and hence only the basic widget will be shown. This feature will be implemented in version 1.1.
Here is how it works!
You will need to create a plugin of type tjlmsdashboard
Have a look at the basic structure.
public function YOUR_PLG_NAMERenderPluginHTML($plg_data, $layout = 'default')
{
        // Build your HTML here.
        return $html;
}
public function getData($plg_data)
{
return $data;
}
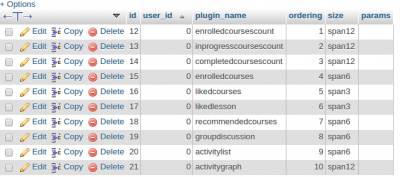
For Shika version 1.0 you will need a hardcoded entry in #__tjlms_dashboard. After Shika 1.1 is released this won't be needed.
Now you can create your own widget to be shown on Shika user dashboard by simply enabling the plugins.
You can also provide the size of your block which decides the number of space to be occupied on the dashboard
Have a look at this sample:
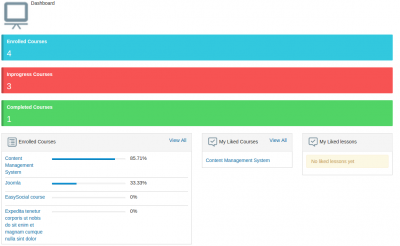
This is how the dashboard will look on above Database entries.
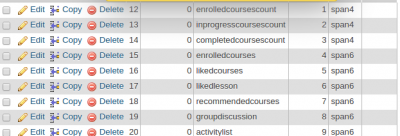
One more example:
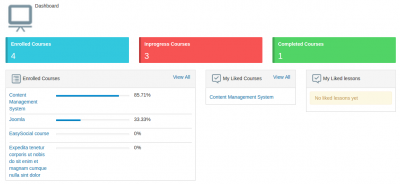
Following will be the result.
This is how you can completely revamp your dashboard and make it more user friendly. I hope this helped! :)
Note: This Blog is purely targeted towards developers!


