Zoo is one of the best CCK extensions available for Joomla. It's a flexible and powerful application builder to manage your content. Especially if you are having huge data sets, Zoo can be an awesome way to manage & present it all. However with large data sets, manually adding all the data might not be practical. This is where the inbuilt Zoo import tool can help you in a big way.
In this blog, we will show you how it works & also how we solve a problem that it presents if you have data with lots & lots of fields. When this happens during the import you need to manually Map the fields in your Import CSV/JSON file to the fields in Zoo so that the import can proceed. However when you have lots of fields it a huge chore to map them all manually. However, with our solution, you can do it in a single Click!
Lets how the existing Zoo Data Import Works ( Just in case you didn't know ! )
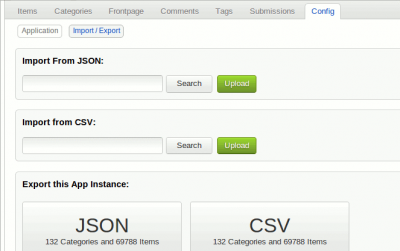
Data import done in following 3 stages. Zoo allows you to import data in JSON or CSV format.
1. Upload CSV/JSON file.

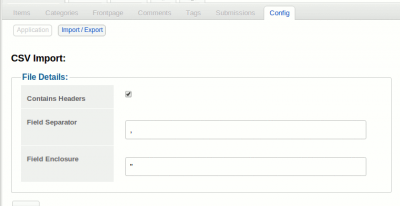
2. Select delimiters.Type in the field separator and the field enclosure of the CSV file.

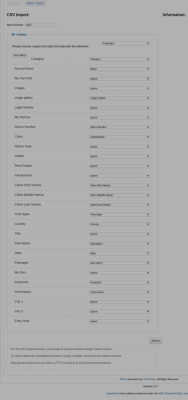
3) Assign the submission fields to the appropriate CSV file columns. Here you have to assign the data in your CSV file to an item type of the app.

The 1st and 2nd stages of data import are very easy and straightforward, however, the 3rd stage can be really a pain depending on how many fields you have.
Imagine having to manually map 50 fields! Sucks right?
Say no to Hard work & Yes to Intelligent Work! Here is a solution to do just that!!
This solution will add a button that will automatically map similarly named fields.
1. Override the "administrator/components/com_zoo/views/configuration/tmpl/importcsv.php" file. If you are not sure how to do overrides, here's a tutorial that will teach you how to do it.
2. Now, let's add the Auto Map button. Copy paste the below HTML in the page where you want the button to be seen. In our example, we have added it below the form.
<input type="button"id="automap"name="automap"value="Auto Map">
3. Now, let's add the Snippet of Javascript that will do all the magic when you click the button you just added above! This should ideally be added to the head section. Ideally, you should use the Joomla AddScriptDeclaration API for this.
$("#automap").click(function(){


  $("li.assign").each(function(){

    var catname = $(this).find("span.name").text();


    if($(this).find('select.assign option').filter(function () { return $(this).html().toLowerCase() == catname.toLowerCase(); }).val()){
     $(this).find('select.assign option').filter(function () { return $(this).html().toLowerCase() == catname.toLowerCase(); }).attr("selected","selected");
     //$(this).find('select.assign').css("border", "1px solid green");
    }else{
     $(this).find('select.assign option').each(function(){
       var crval = $(this).text().toLowerCase();
       catname = catname.toLowerCase();
       //console.log(crval.split(catname).length);

       if(crval.split(catname).length > 1 ){
         $(this).attr("selected","selected");
         $(this).closest("select.assign").css("border", "1px solid red");

       }else if(catname.split(crval).length > 1){
         $(this).attr("selected","selected");
         $(this).closest("select.assign").css("border", "1px solid red");
       }
     })

    }

  });


});
